Permanently Cleaning Inet AB Hardcoded SMBIOS Metadata

Why do we allow resellers to tamper with our hardware's SMBIOS for marketing purposes? After finding Inet AB hardcoded as chassis_vendor in my new workstation, I decided to take full control of the NVRAM.
Here's the method I used to permanently erase their metadata and restore the correct ASUS information - without compromising BIOS integrity.
- Download
AMIDEFIx64.efi.ziphere
This is a classic OEM behavior - Inet builds the computer and before sending it off they use a DMI editing tool from American Megatrends (AMI) to burn their own “System Manufacturer”string directly into the motherboard's NVRAM/SMBIOS table.
The reason it remains is that the default BIOS flash utility (Asus EZ Flash) is designed to keep the DMI block intact, otherwise the motherboard serial number, UUID, and Mac addresses would have been deleted with each update.
Since Linux reads the DMI table extremely early in the boot phase, it is not possible to mask this via a simple cmdline parameter. You have to overwrite the table at the hardware level, and you do it with the same type of tool that Inet AB used.
Permanently change the DMI table in EFI
You need a tool called AMIDEFIx64.efi (AMI DMI Editor for EFI). It often circulates online in packages such as AMI Aptio V DMI Edit tools.
Place the tool: Download AMIDEFIx64.efi and put the file directly in the root of your EFI partition (the same partition where you have your cores).
Boot an EFI Shell
If you do not already have an EFI shell, you can find it in /usr/share/edk2/OvmfX64/Shell.efi (Gentoo Linux) or from e.g. from TianoCore and put it on the partition. You can boot it directly via your current efibootmgr setup or from the BIOS boot menu.
Change the strings
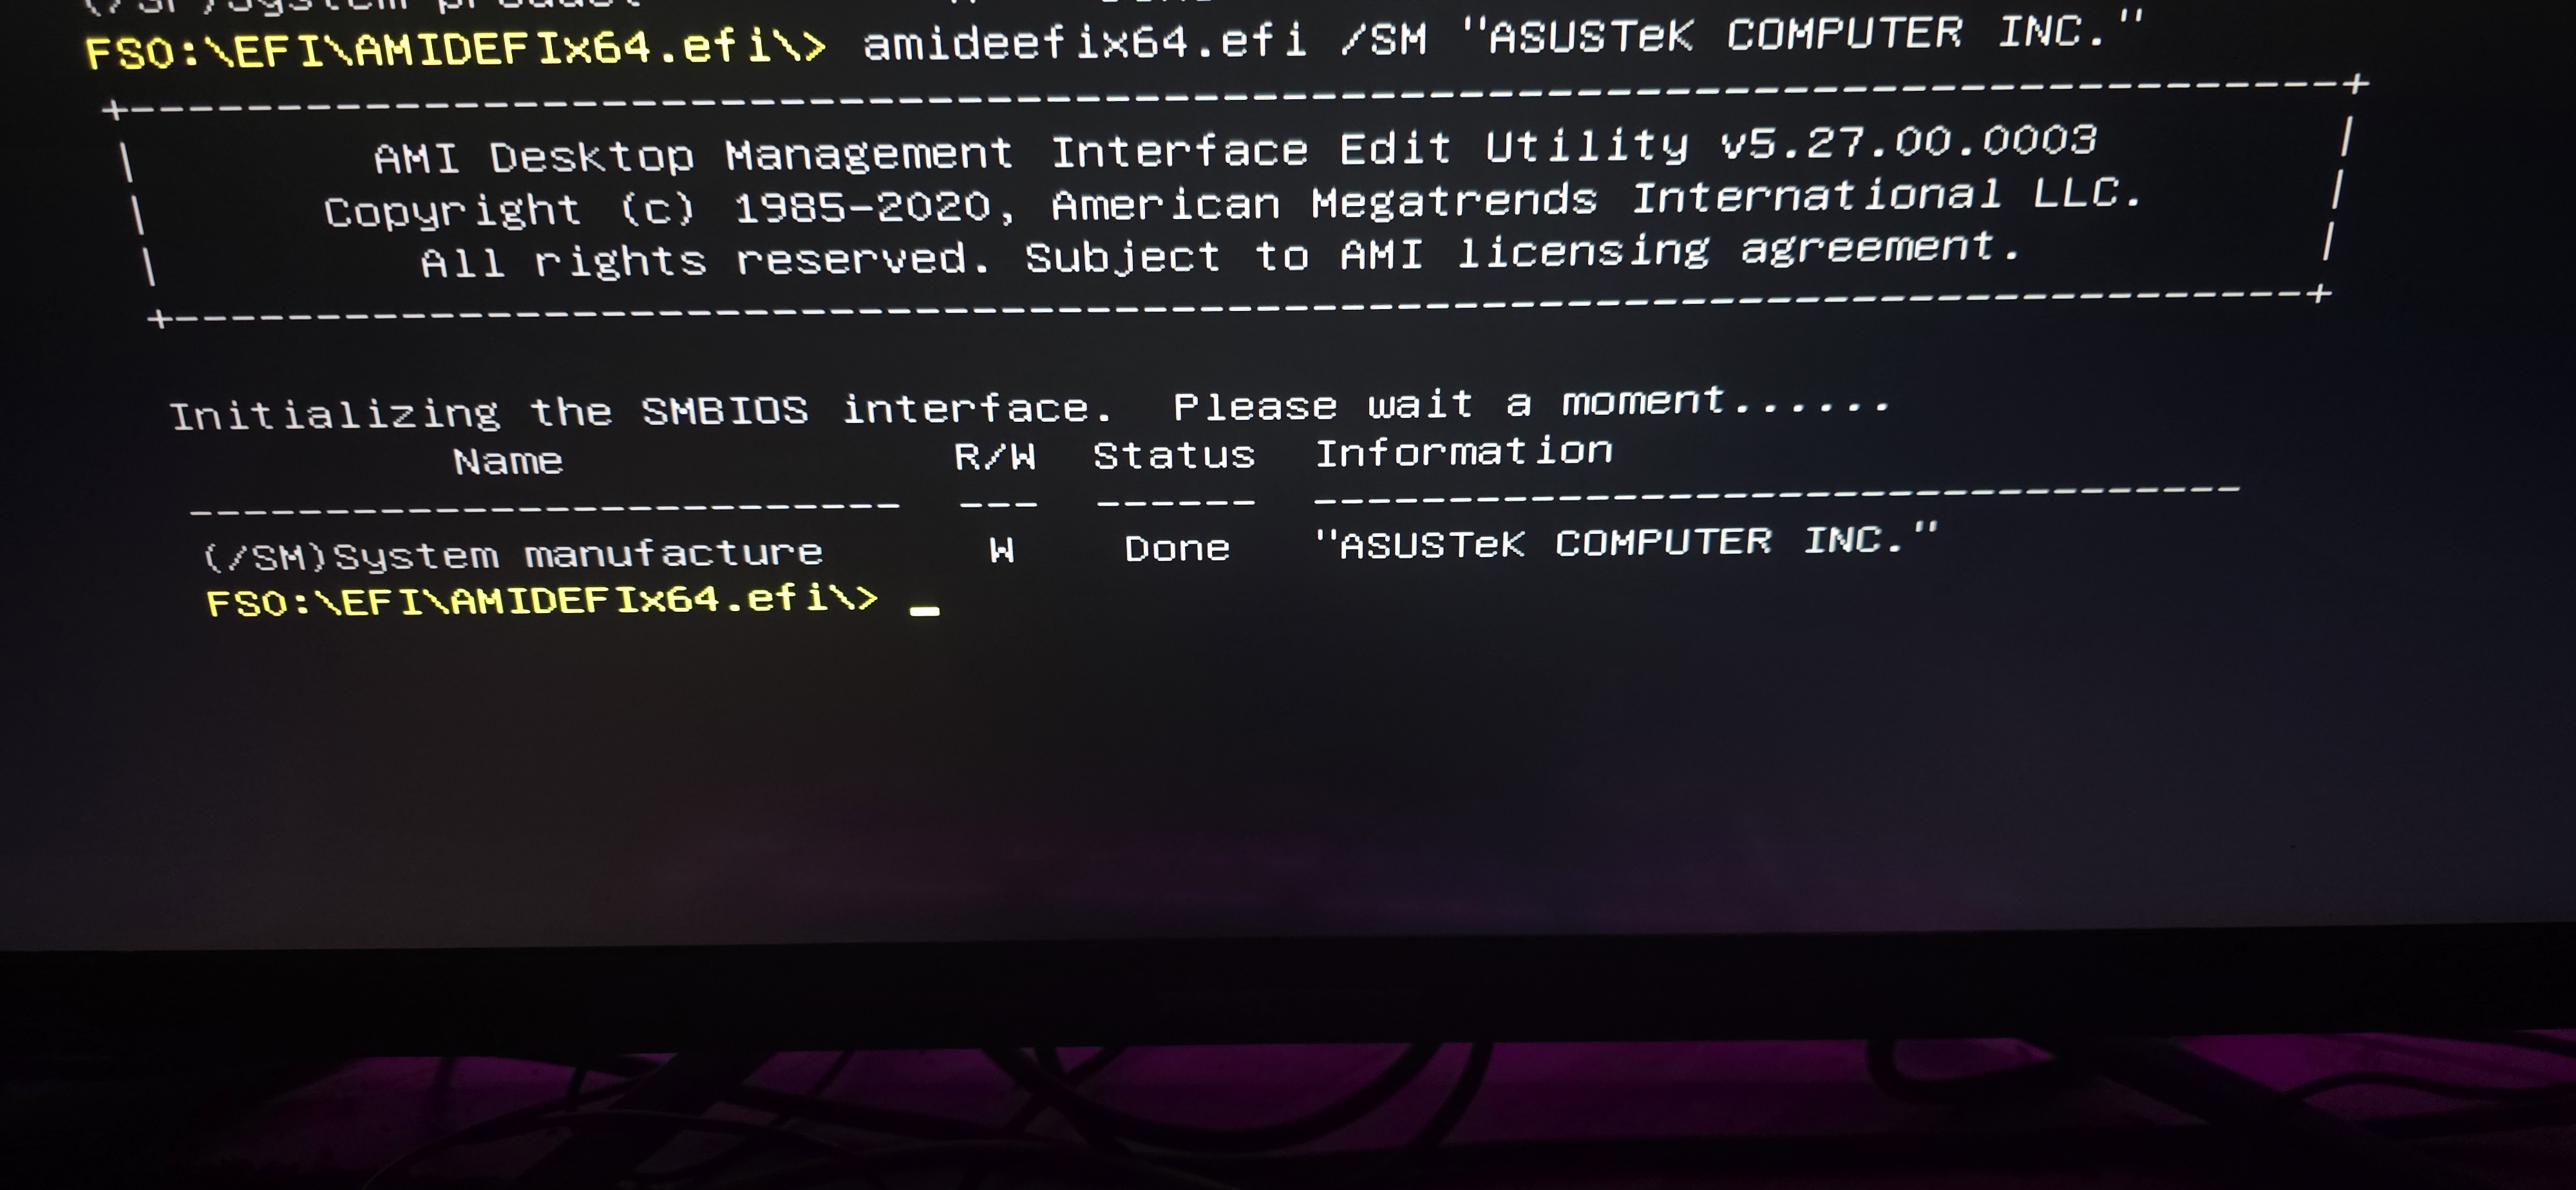
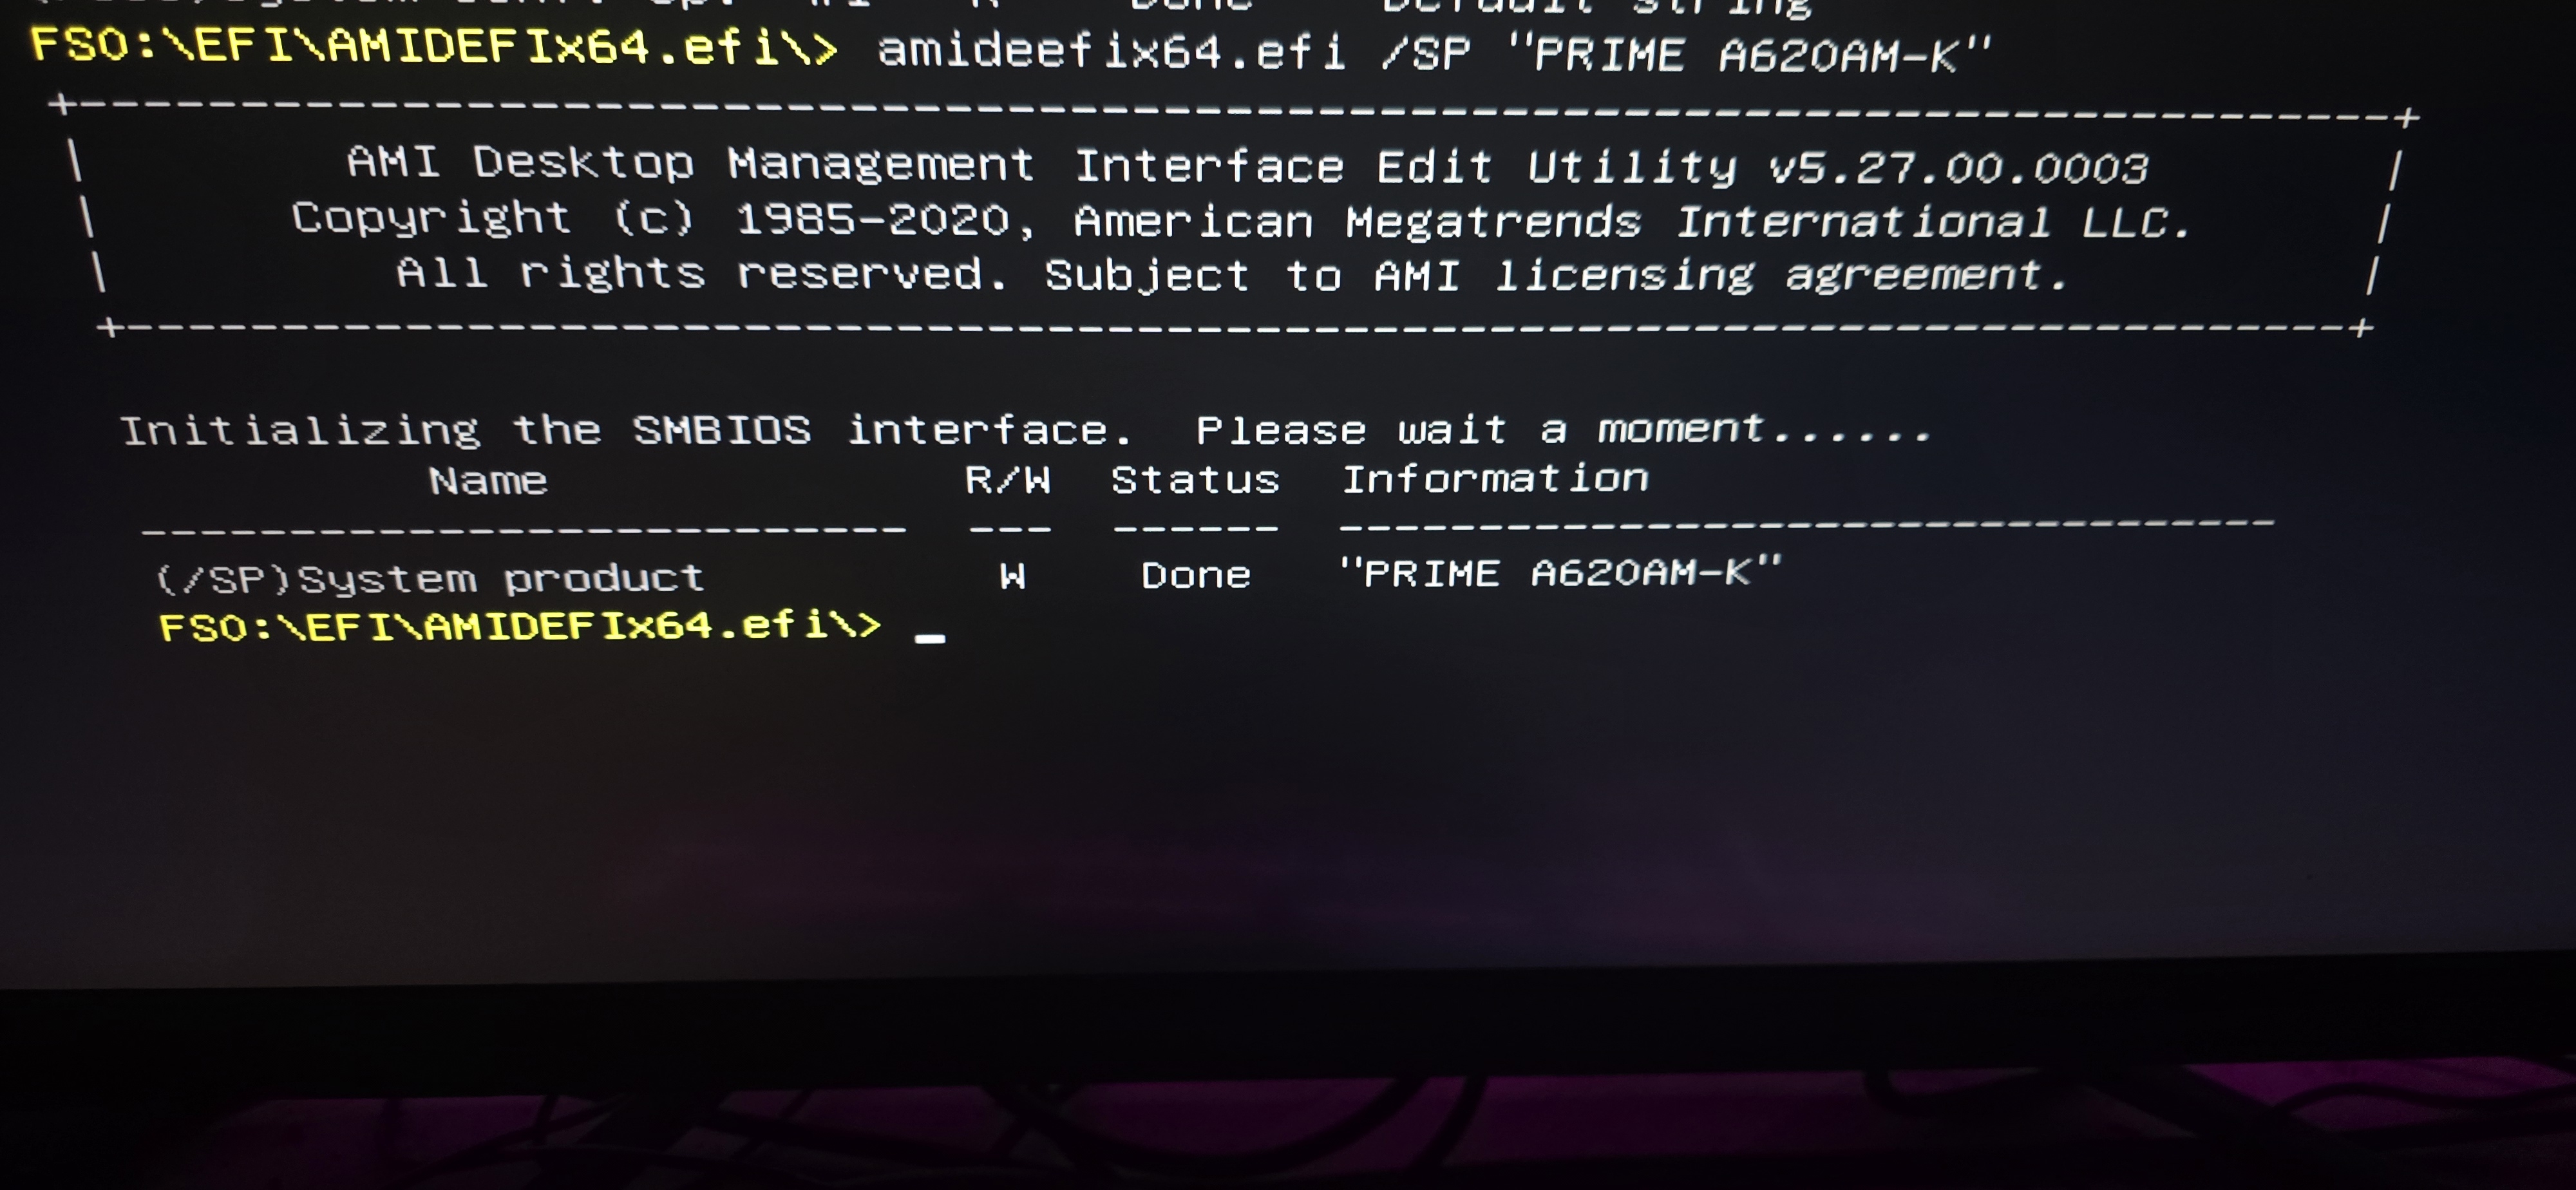
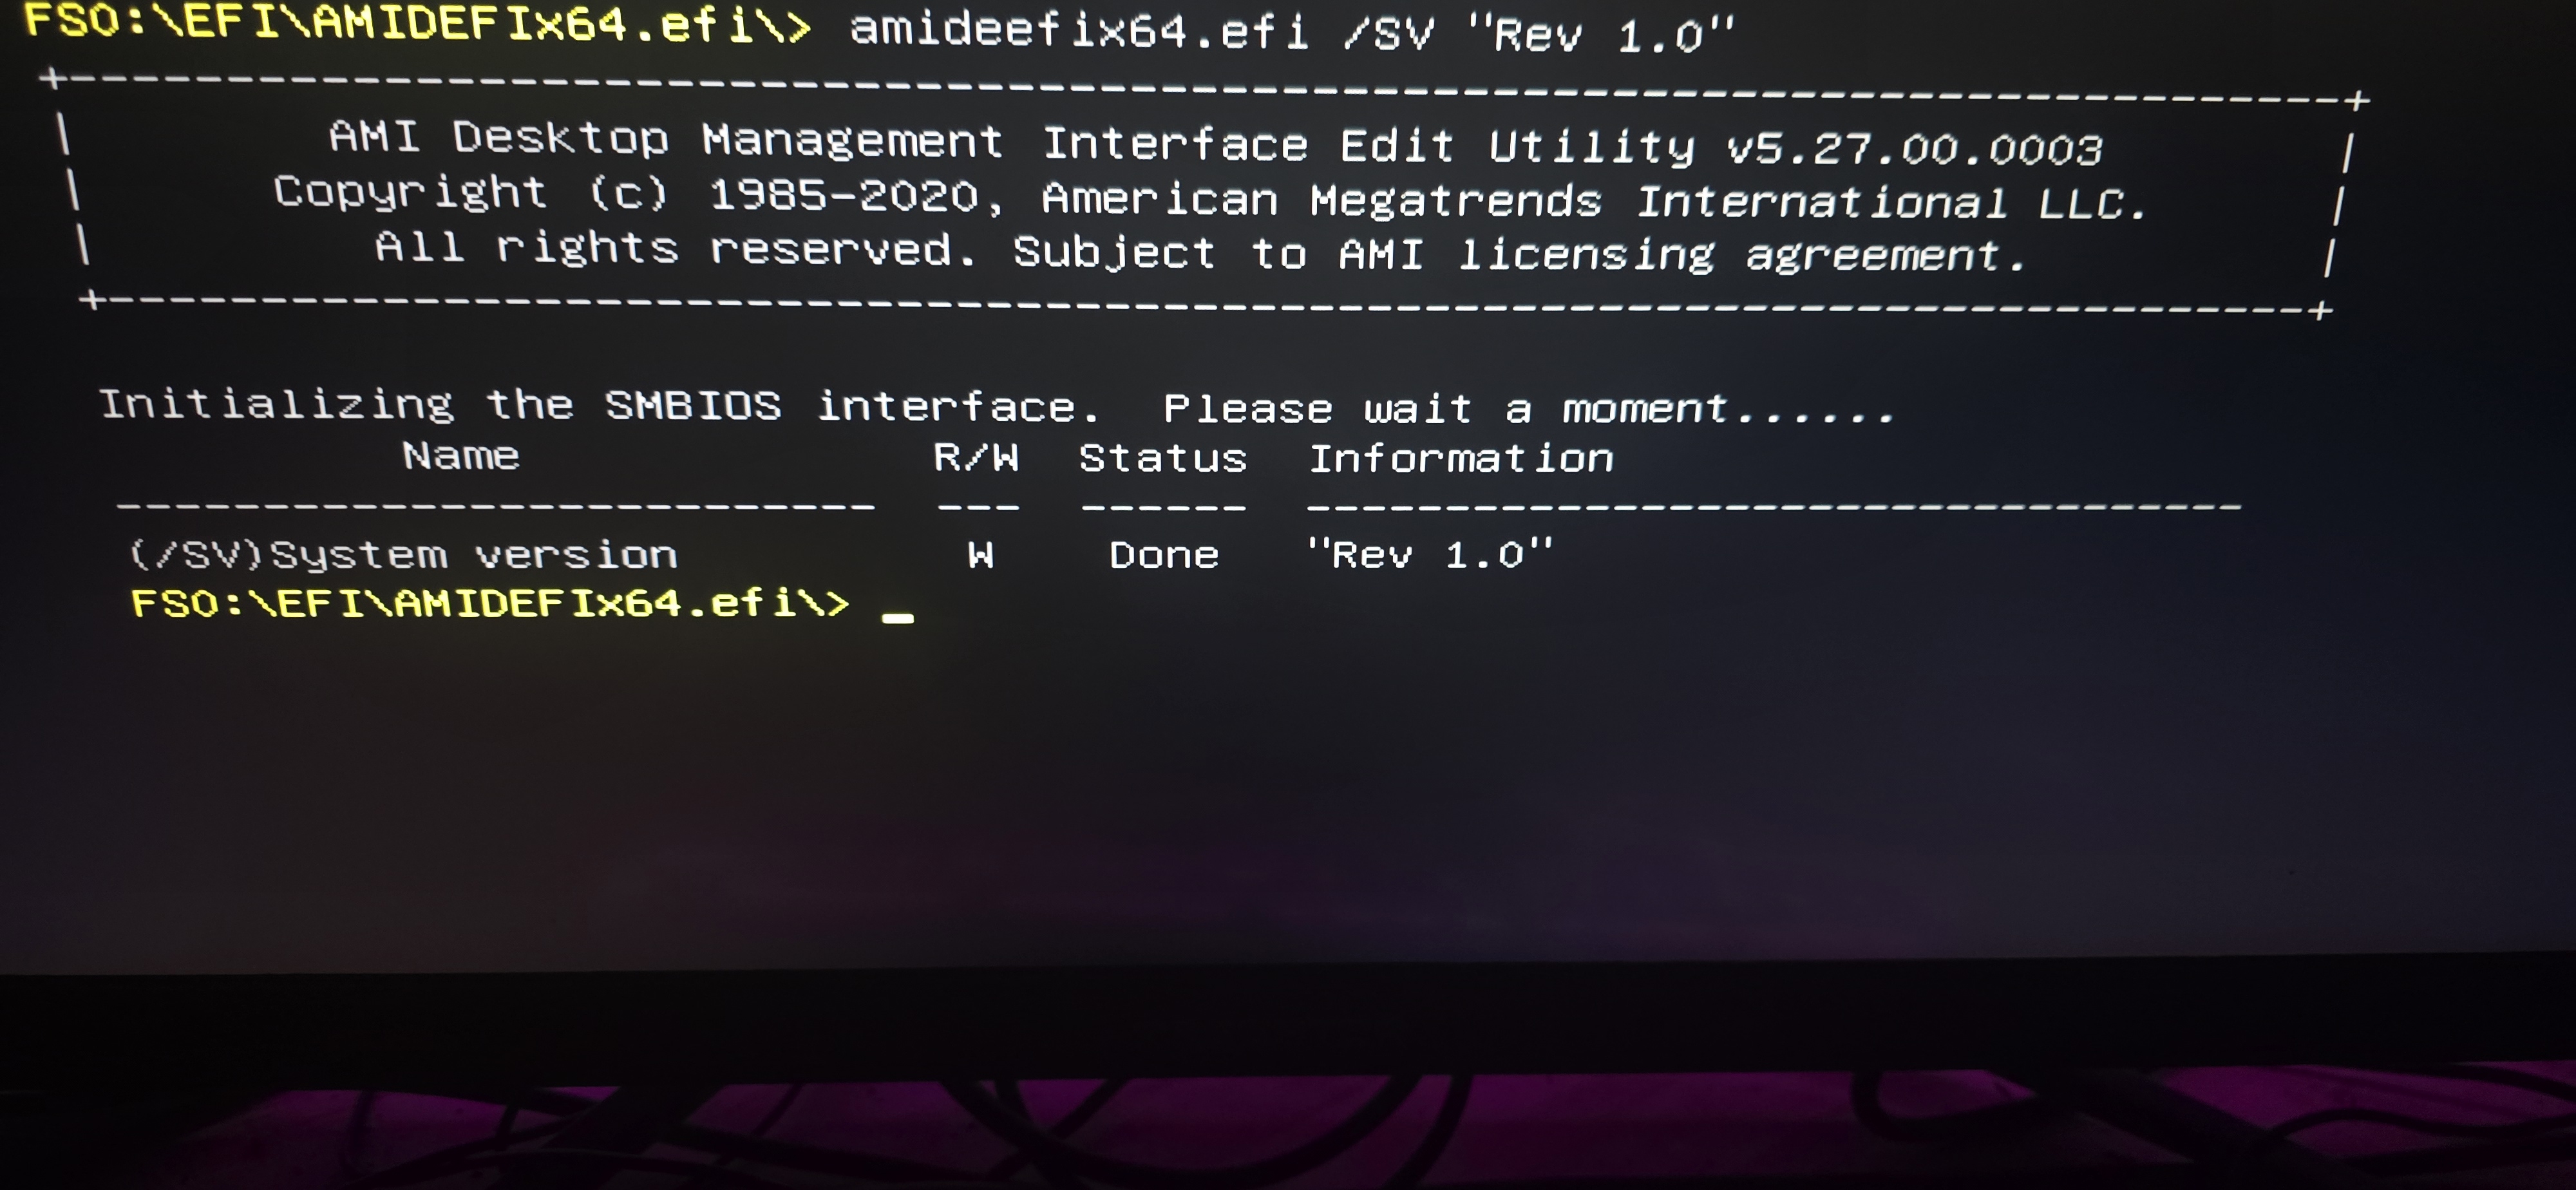
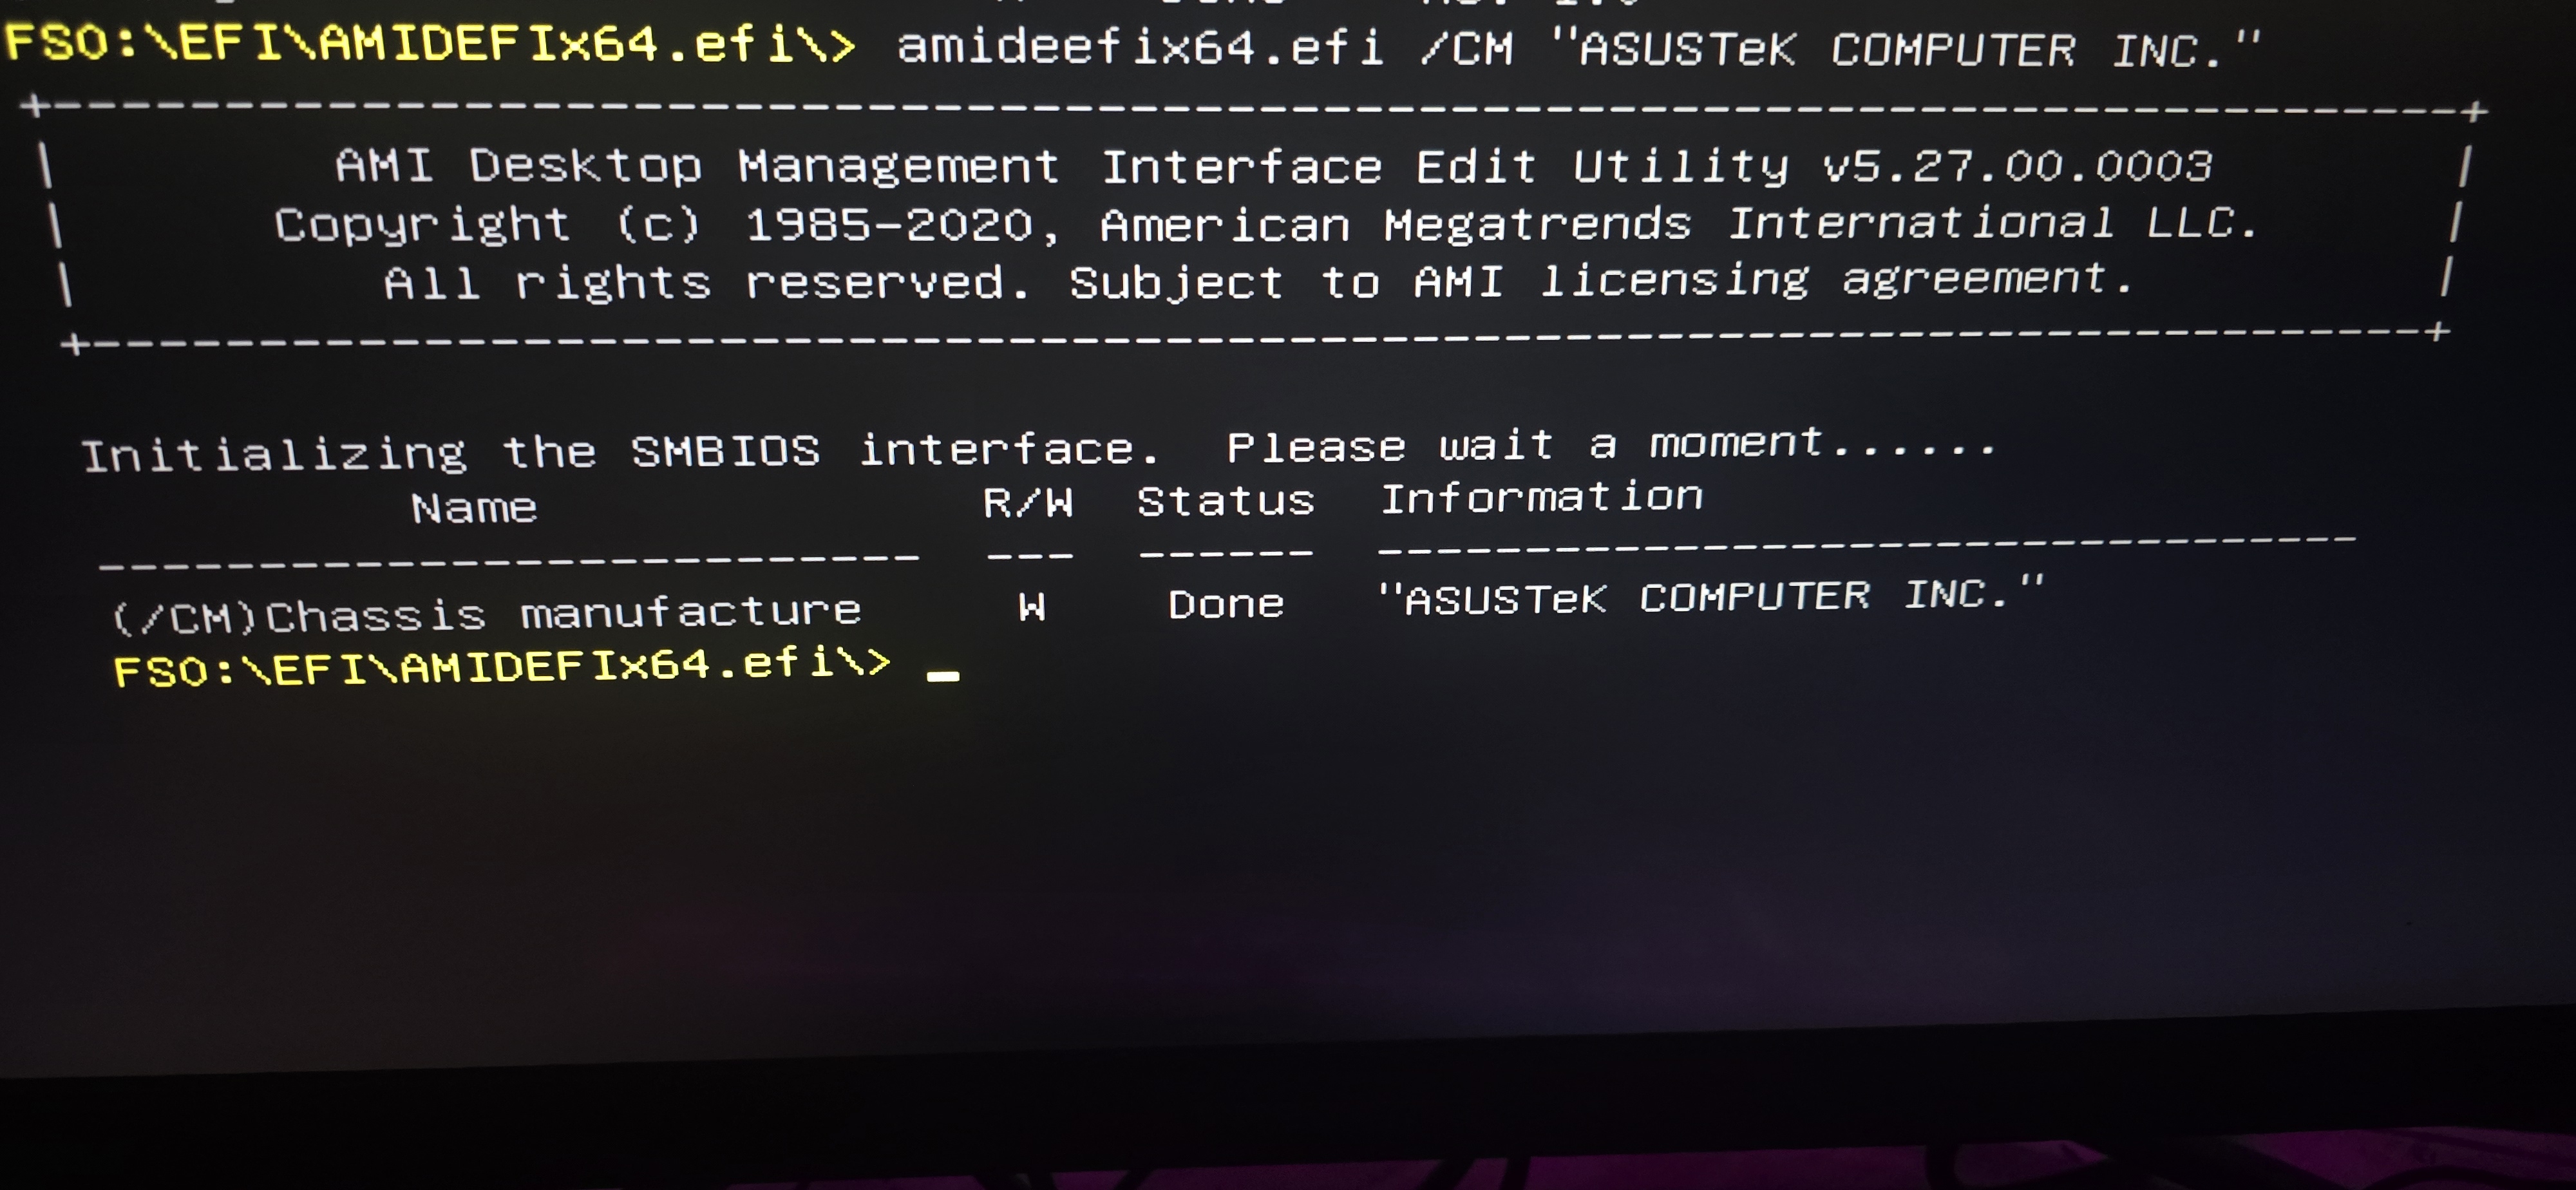
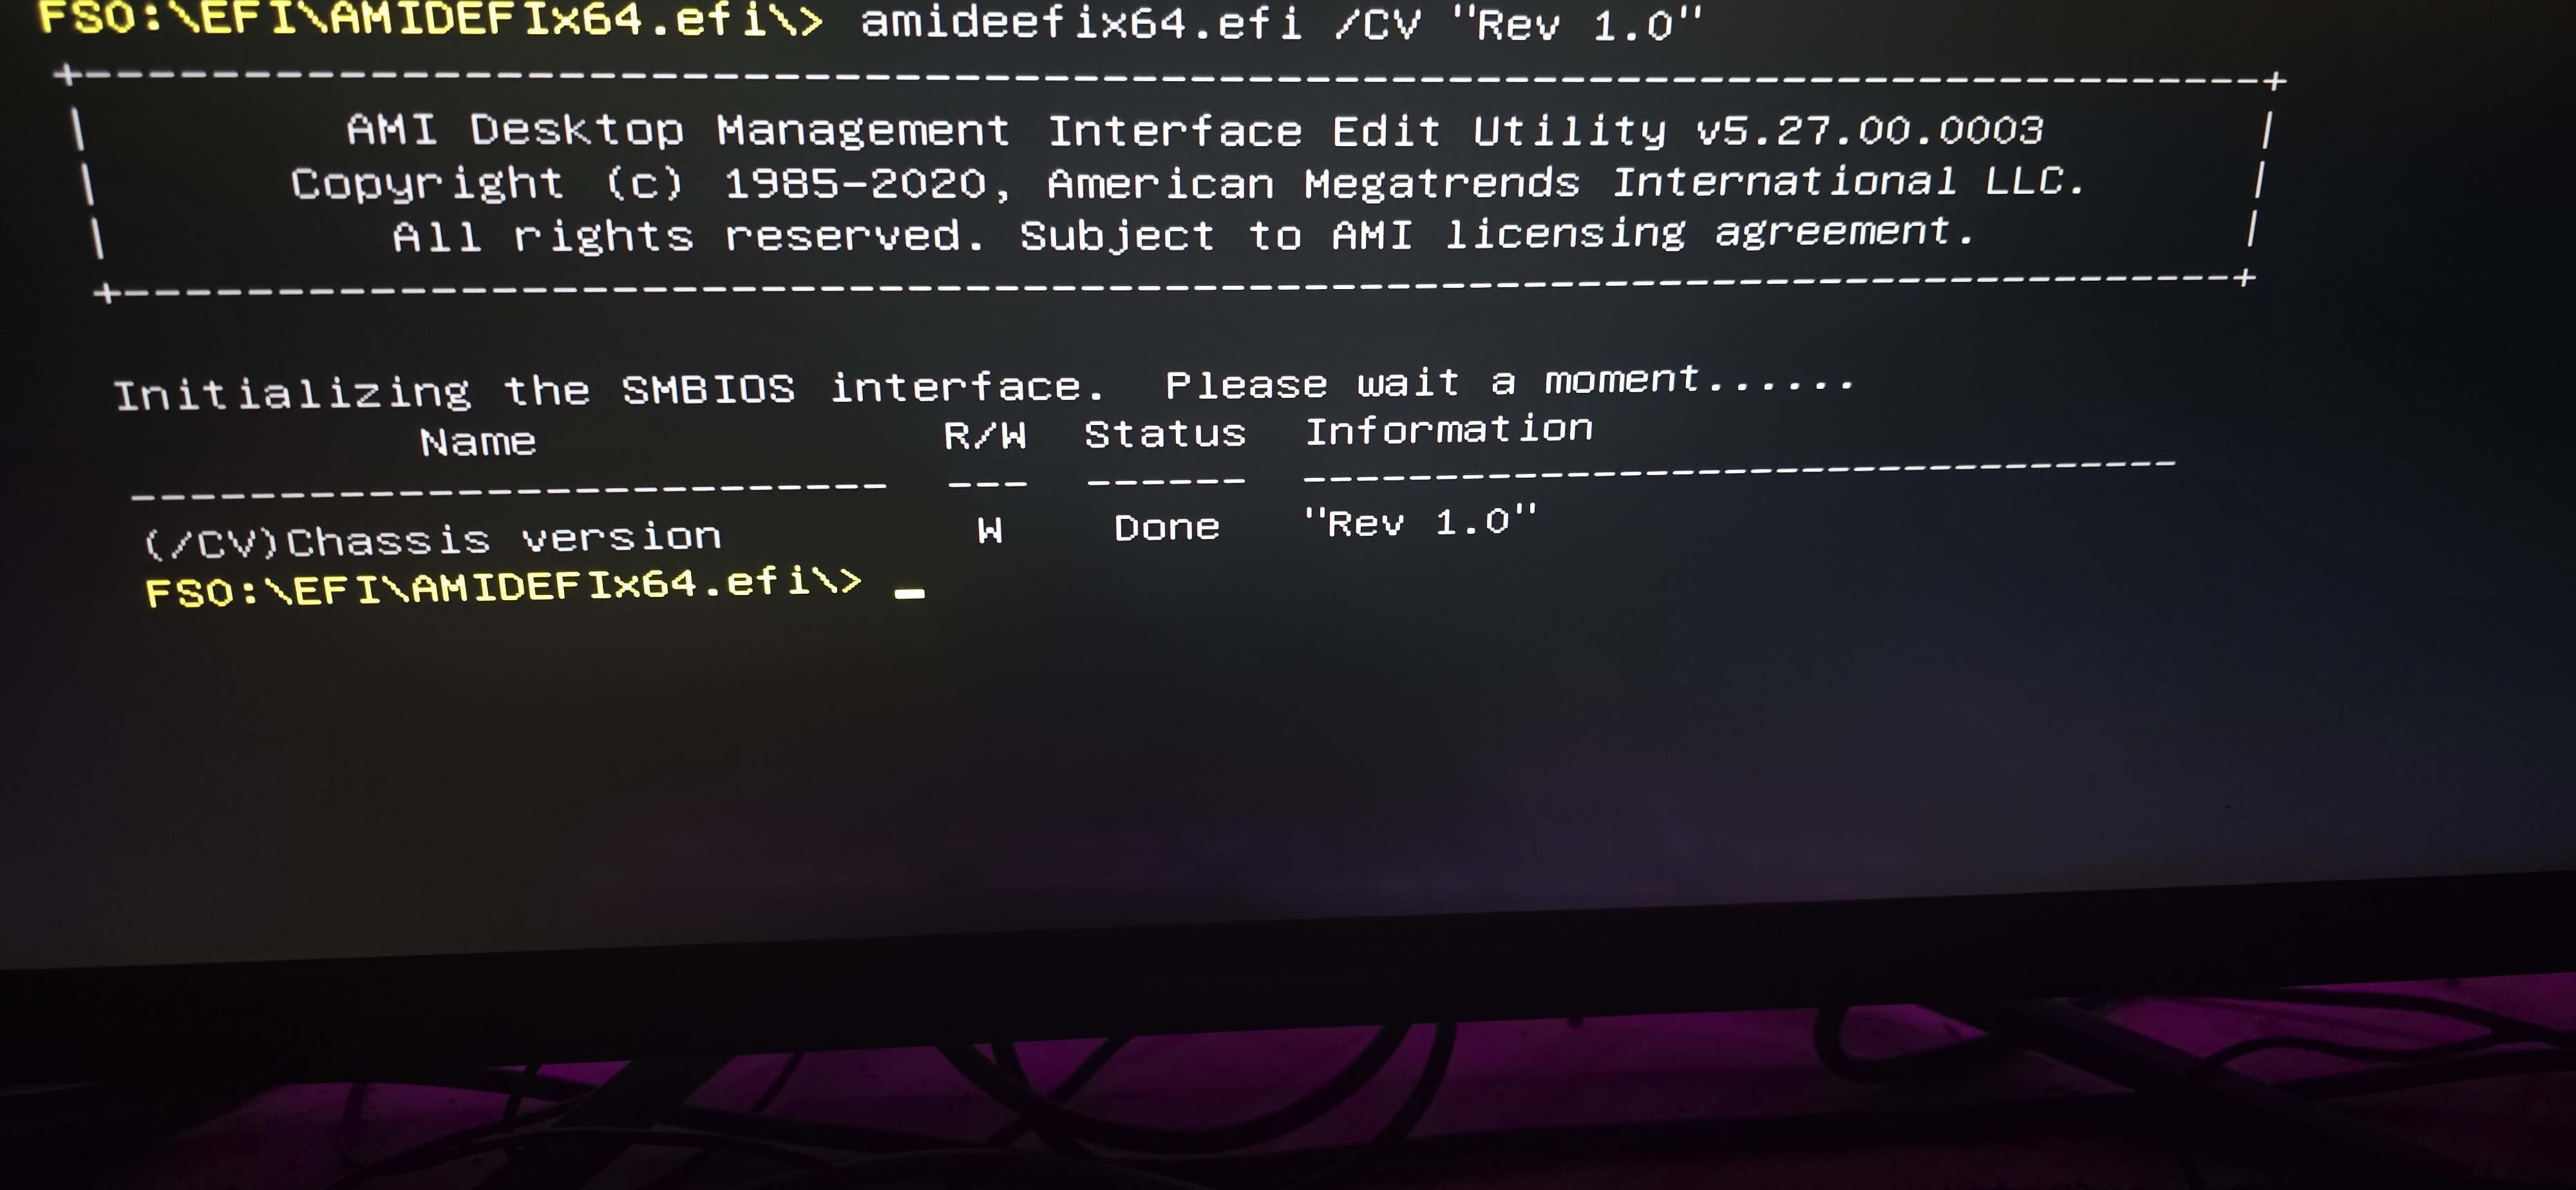
Once inside the EFI shells, navigate to your disk (usually FS0: or FS1:) and run the following commands to restore Asus original strings
As a bonus, right now it probably says System Product Name in your dmesg (which is the default when Inet AB missed setting it). You can correct it too
Inet AB
So where do we find Inet_AB and where have they placed their advertising?
First of all, we find it in bioset systems, i.e. id you can either find it in these several ways
We can find it in chassis_vendor directory for dmi
We can find it in sys_vendor inside dmi directory
We can find it in sys_vendor insidie dmi directory
We also can find it in modalias inside dmi directory
How To Grub Method
Download AMIDEFIx64.efi.zip from above of this page and move the AMIDEFIx64.efi folder into /boot/efi.
Once you downloaded and unzipped the AMIDEFIx64.efi file run below command
cat /etc/grub.d/40_custom
#!/bin/sh
exec tail -n +3 $0
# This file provides an easy way to add custom menu entries.  Simply type the
# menu entries you want to add after this comment.  Be careful not to change
# the 'exec tail' line above.

menuentry "Flash BIOS (AMIDEFI)" {
    insmod part_gpt
    insmod fat
    search --no-floppy --fs-uuid --set=root 525cbfeb-c4bb-43c9-9070-75931eb00100
    chainloader /EFI/AMIDEFIx64.efi/efi/boot/BOOTX64.efi
}
You will see an error message about portage but you can ignore this warning
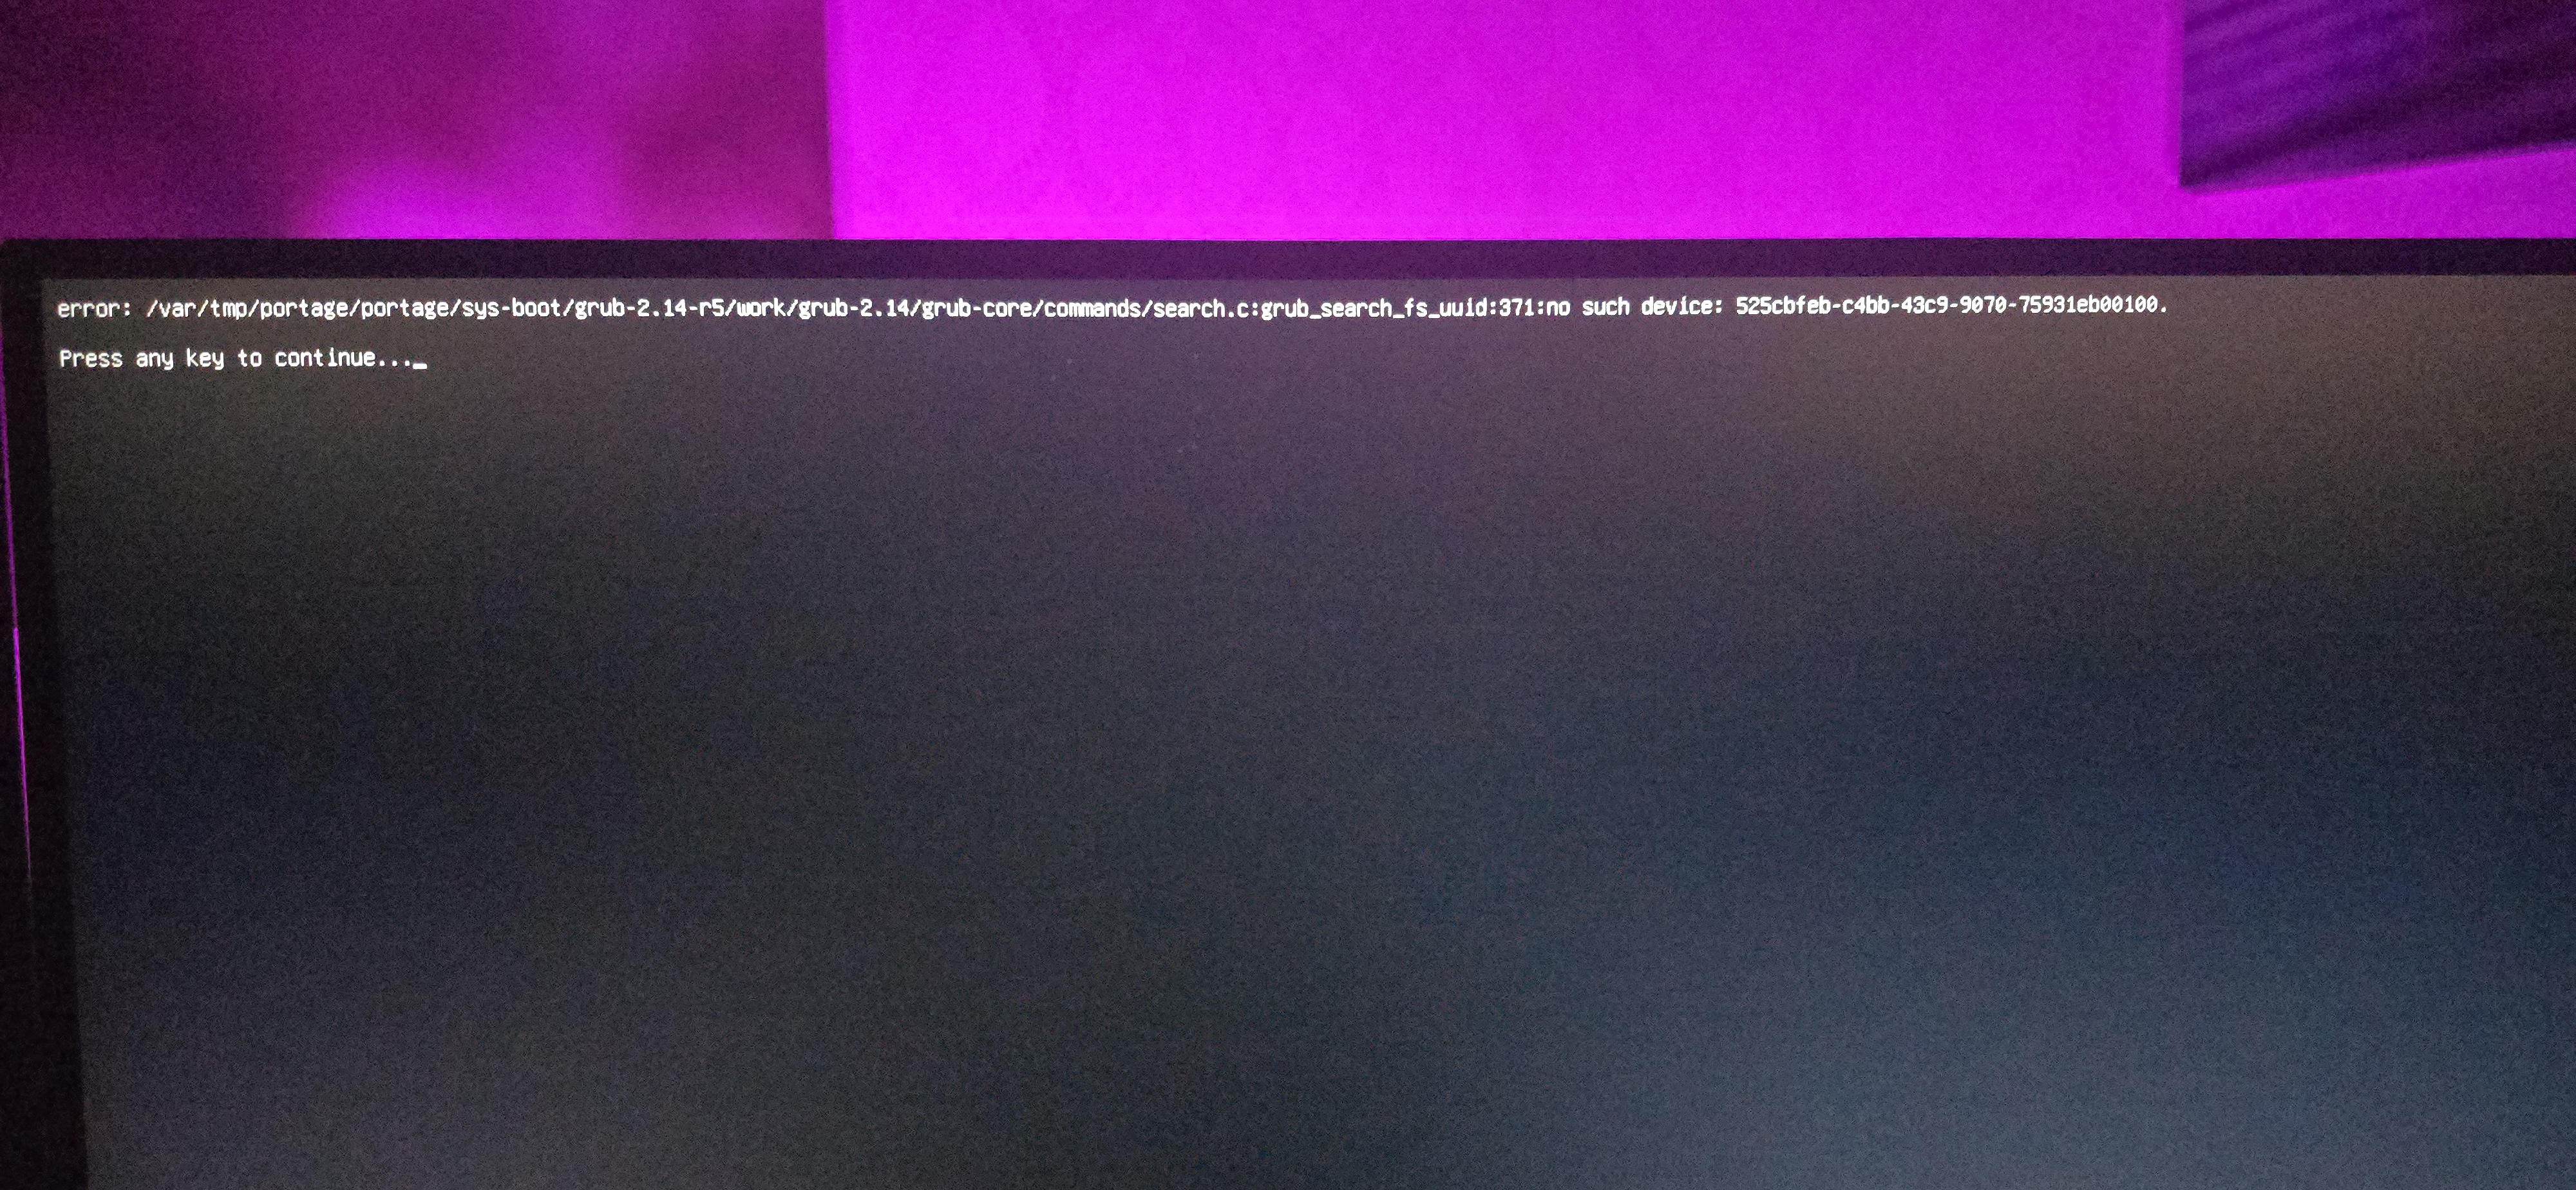
Screenshots
Main Direcotry
- Hit fs0:
to enter the correct directory
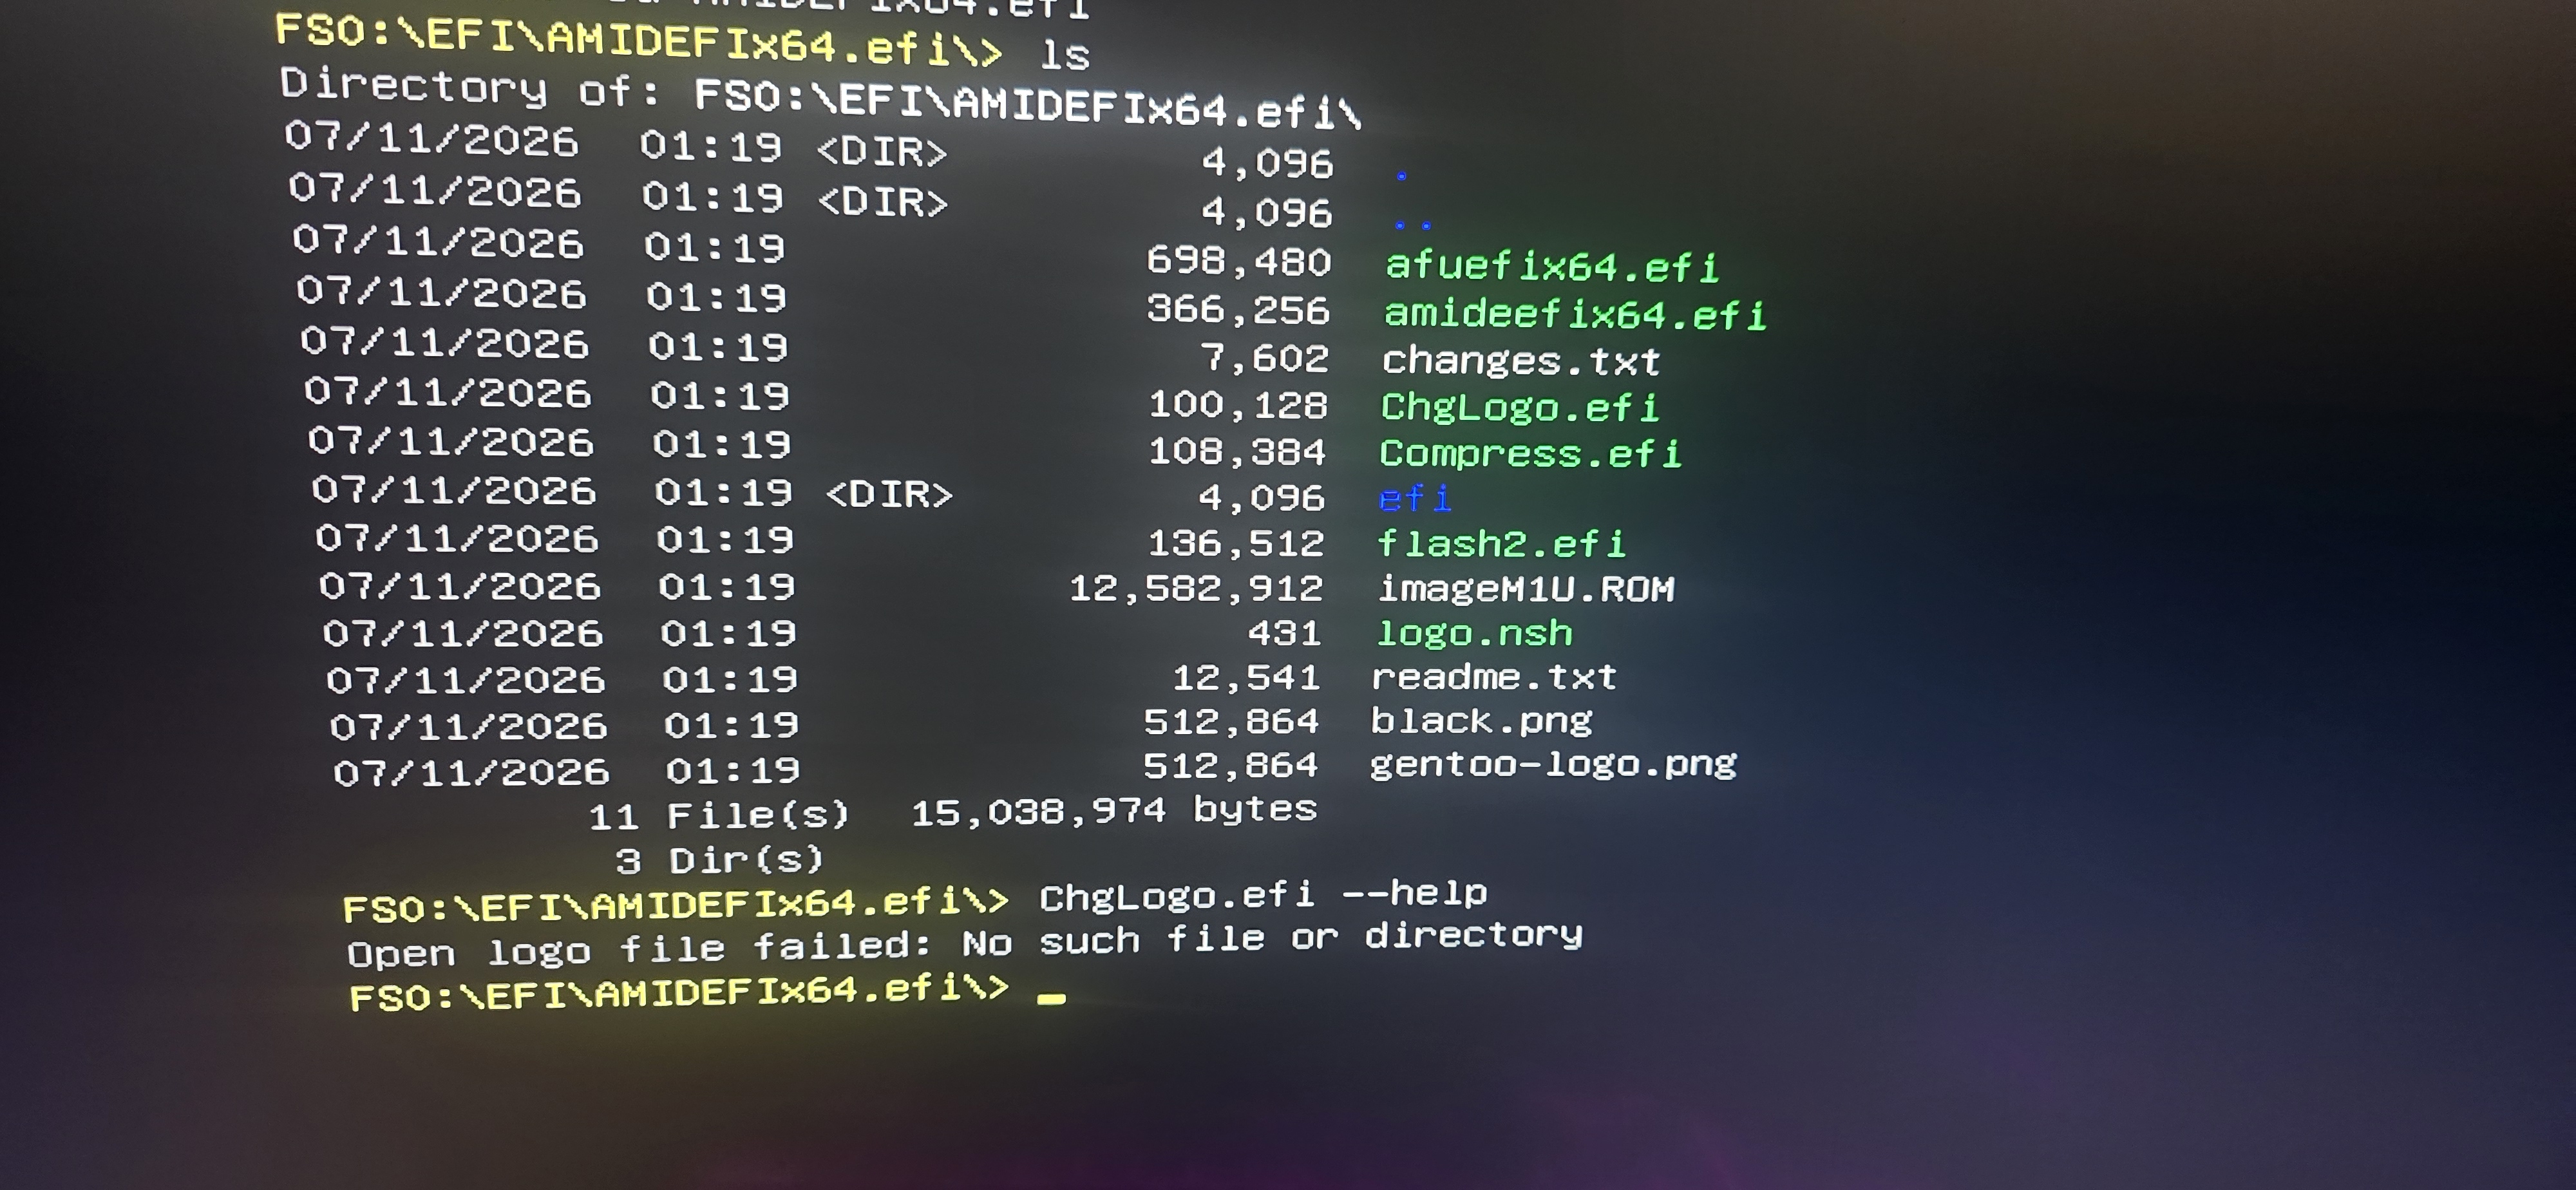
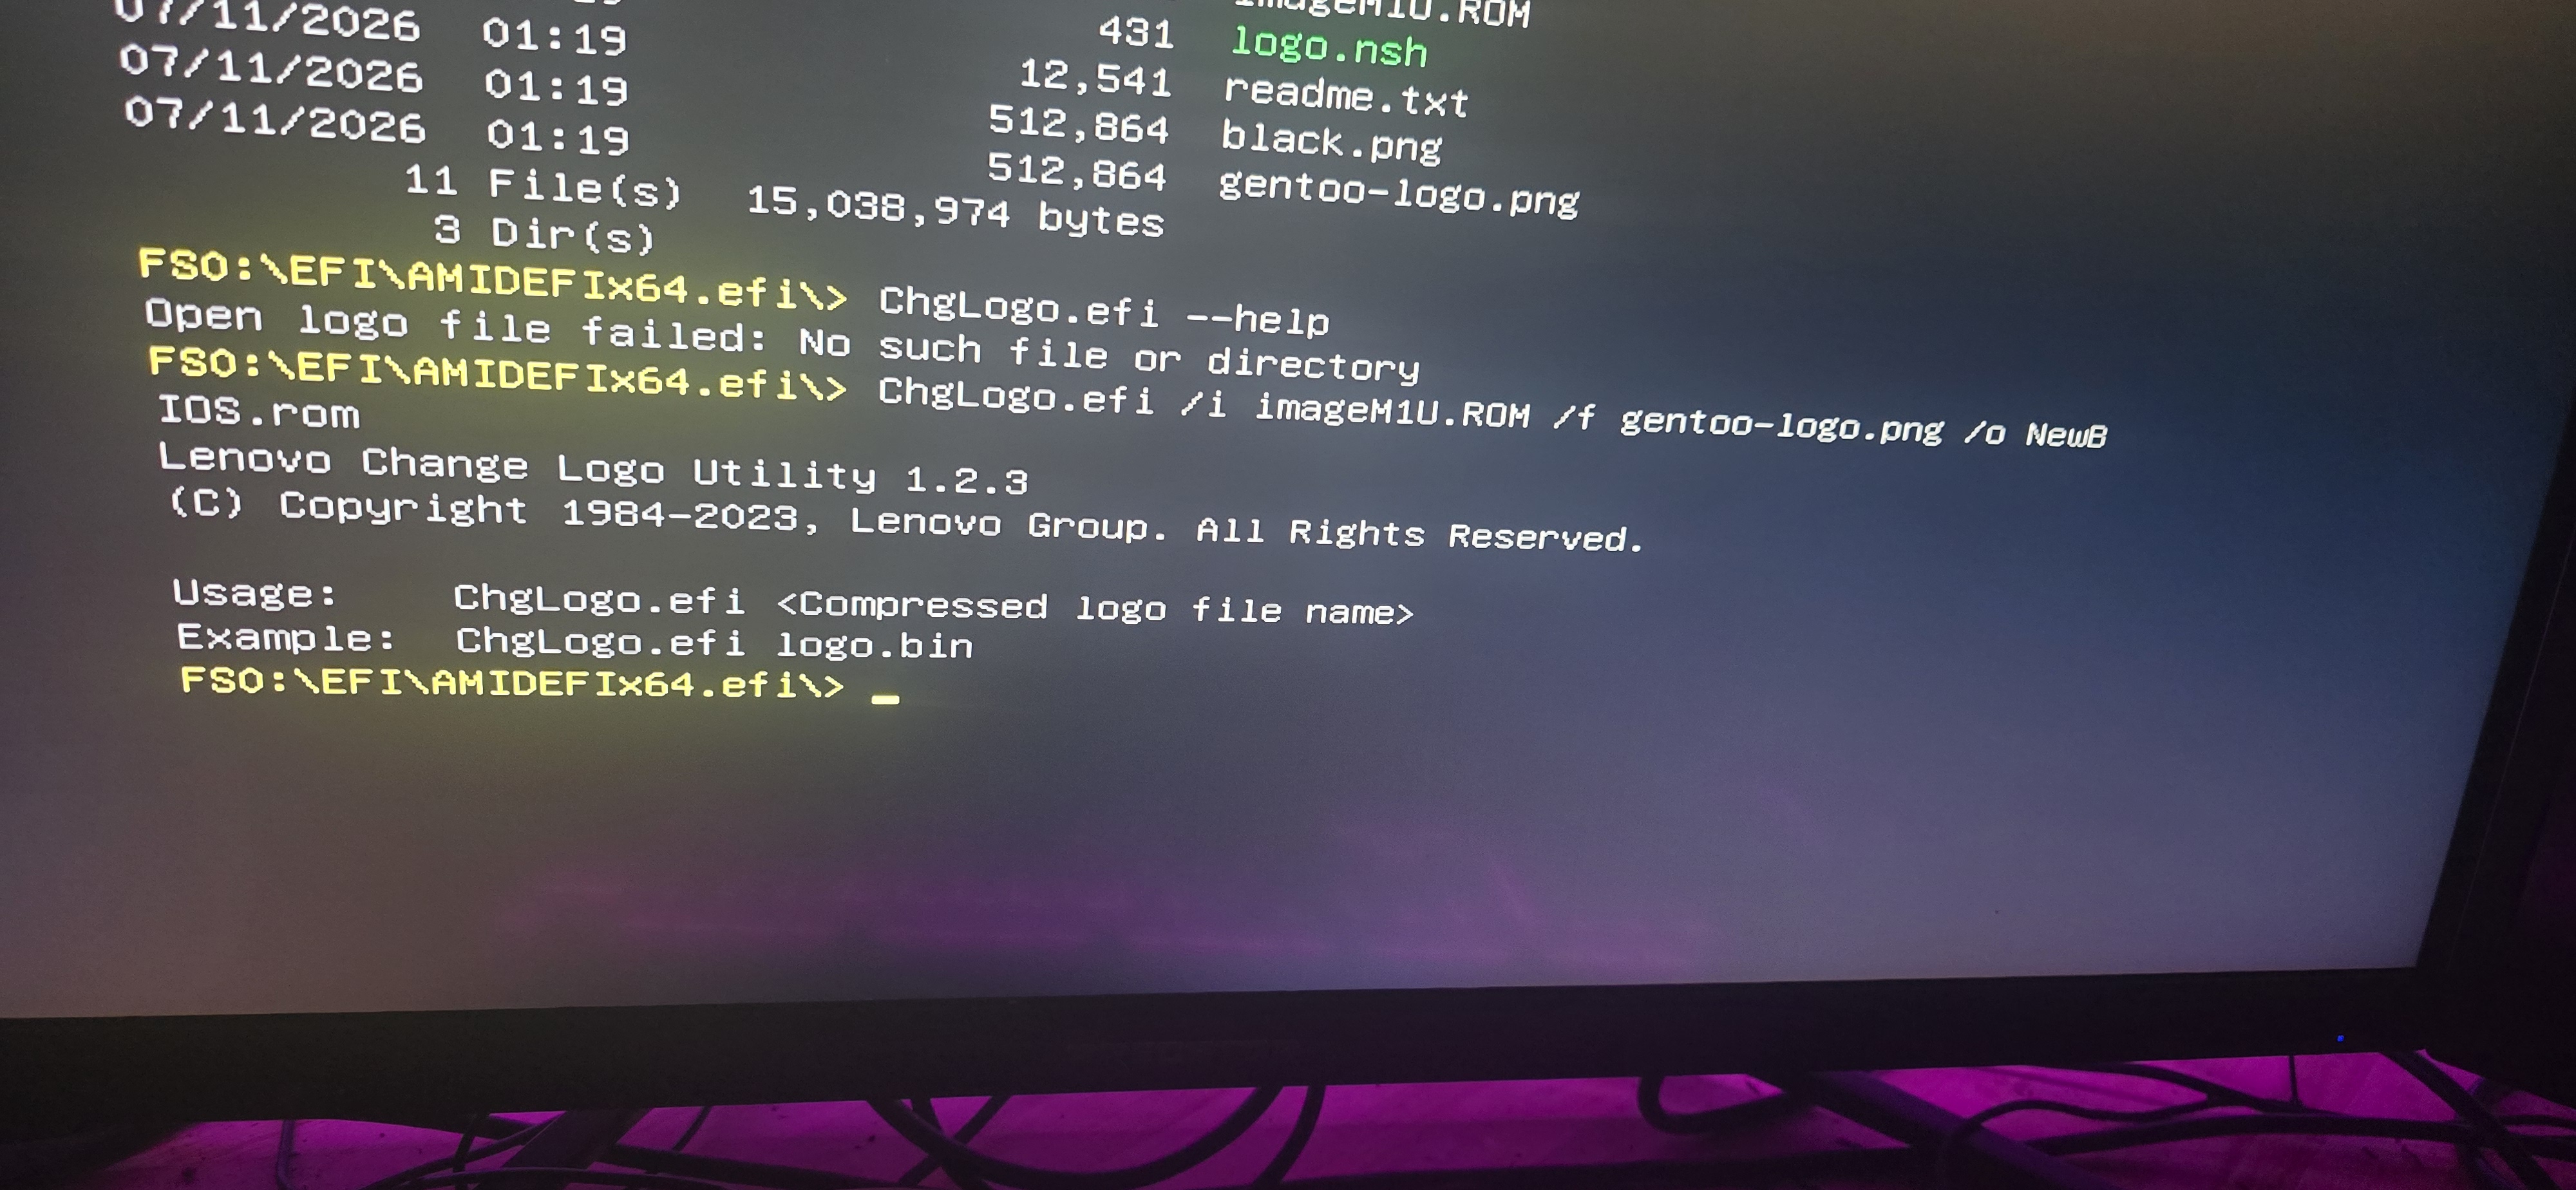
ChgLogo.efi is from Lenovo
Set System Manufacturer value
Set System Product value
Set System Version value
Set System Manufacturer value
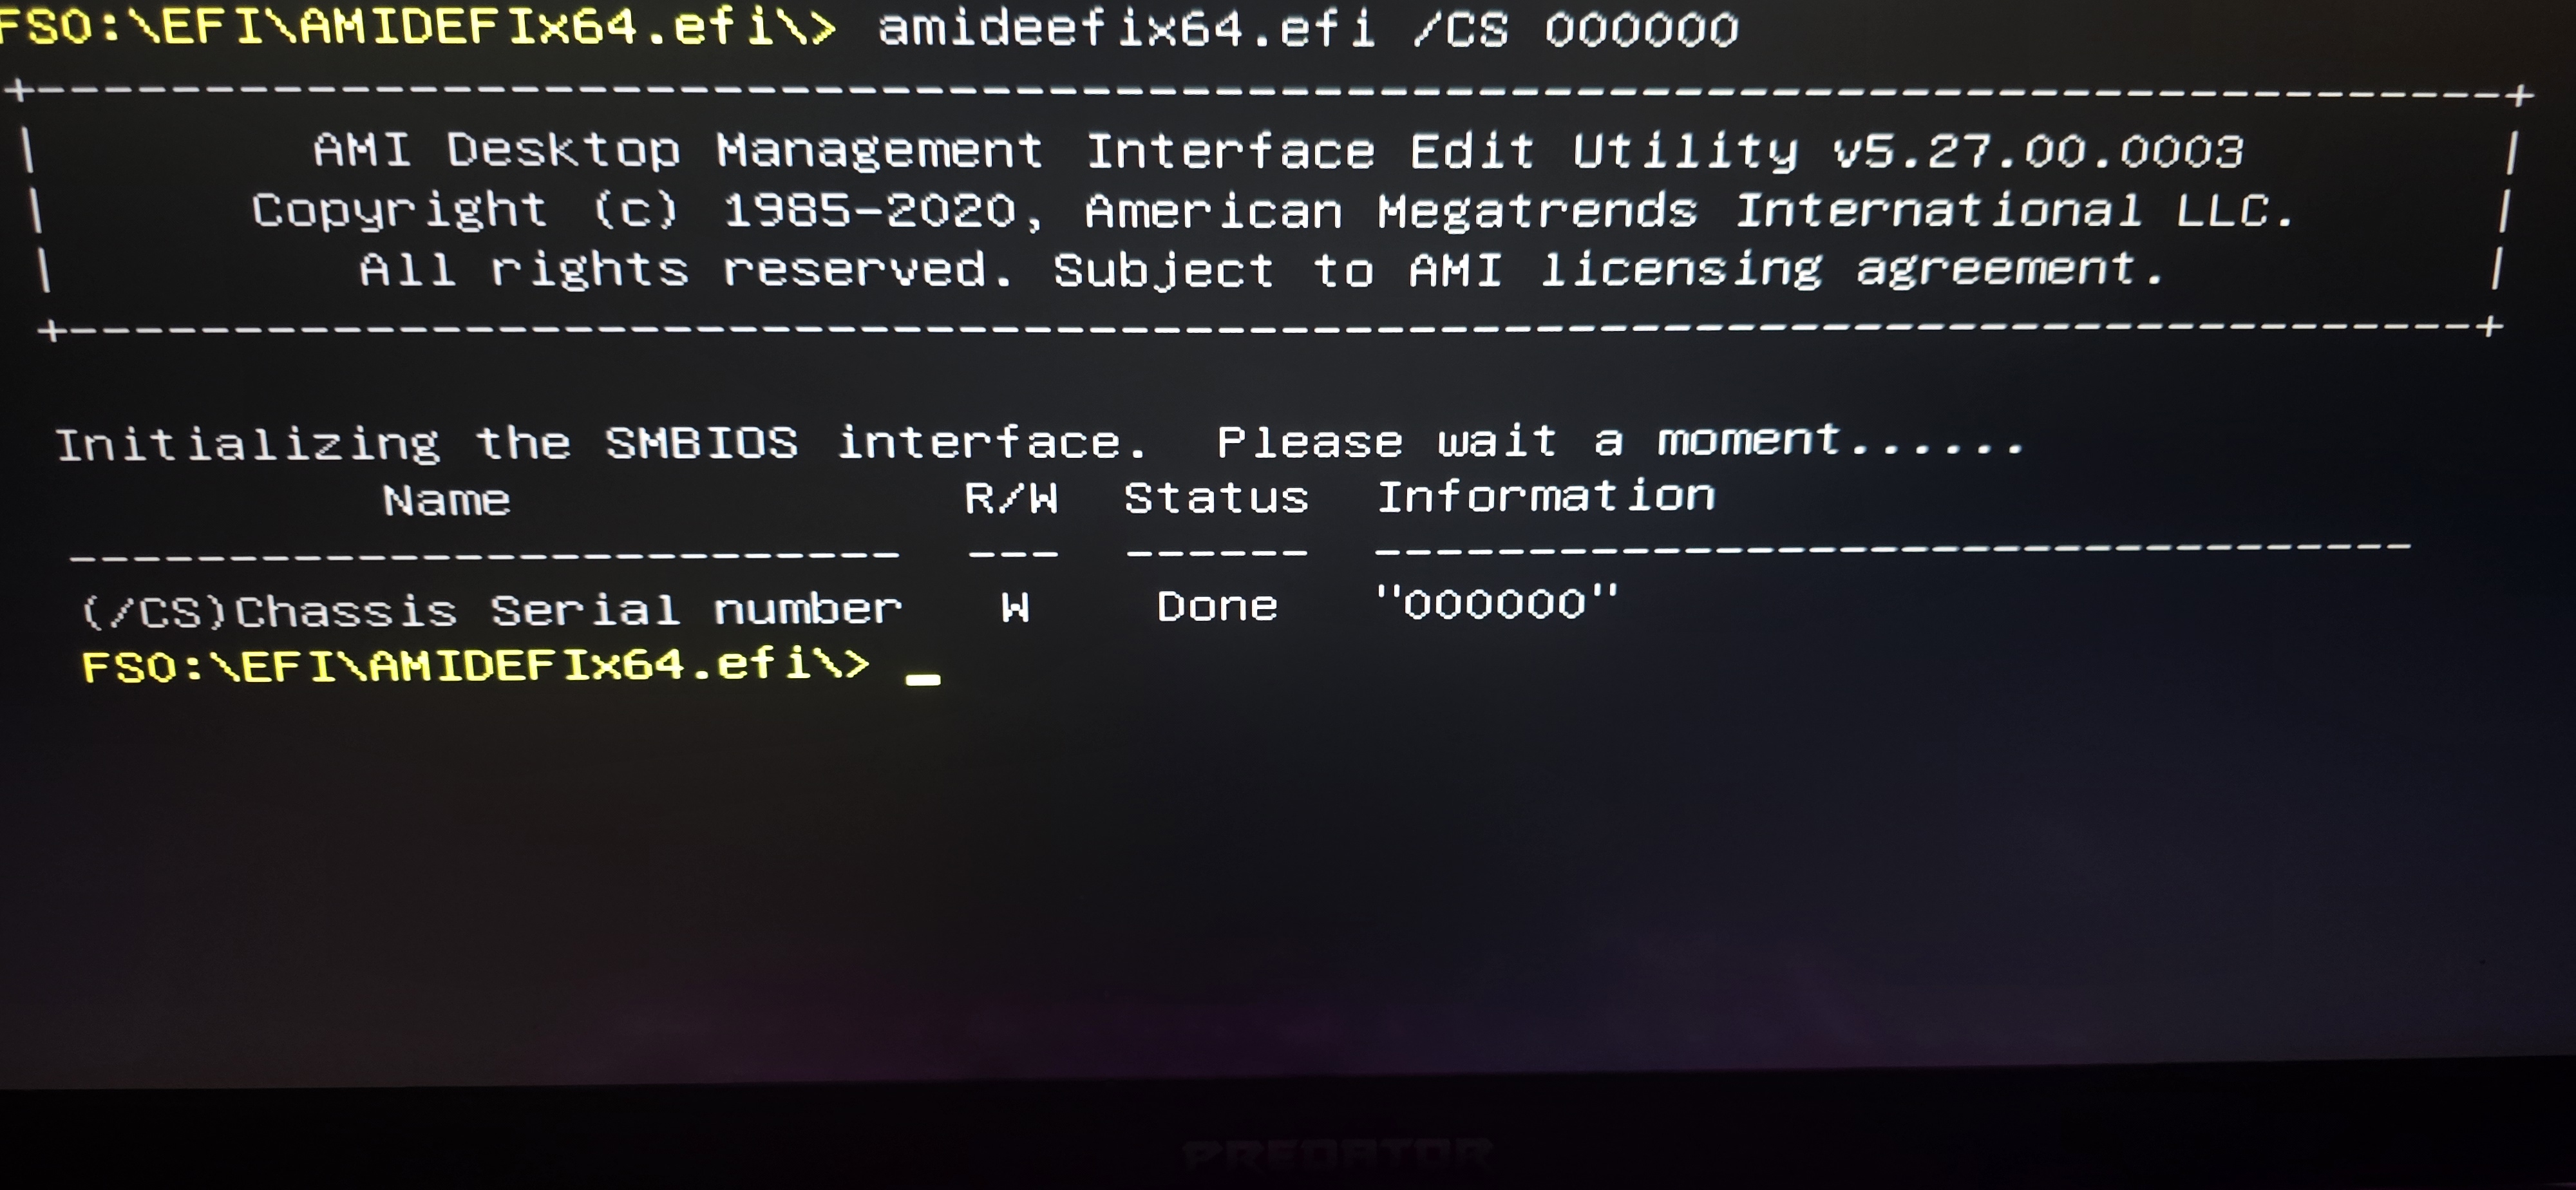
Set Chassis Version value
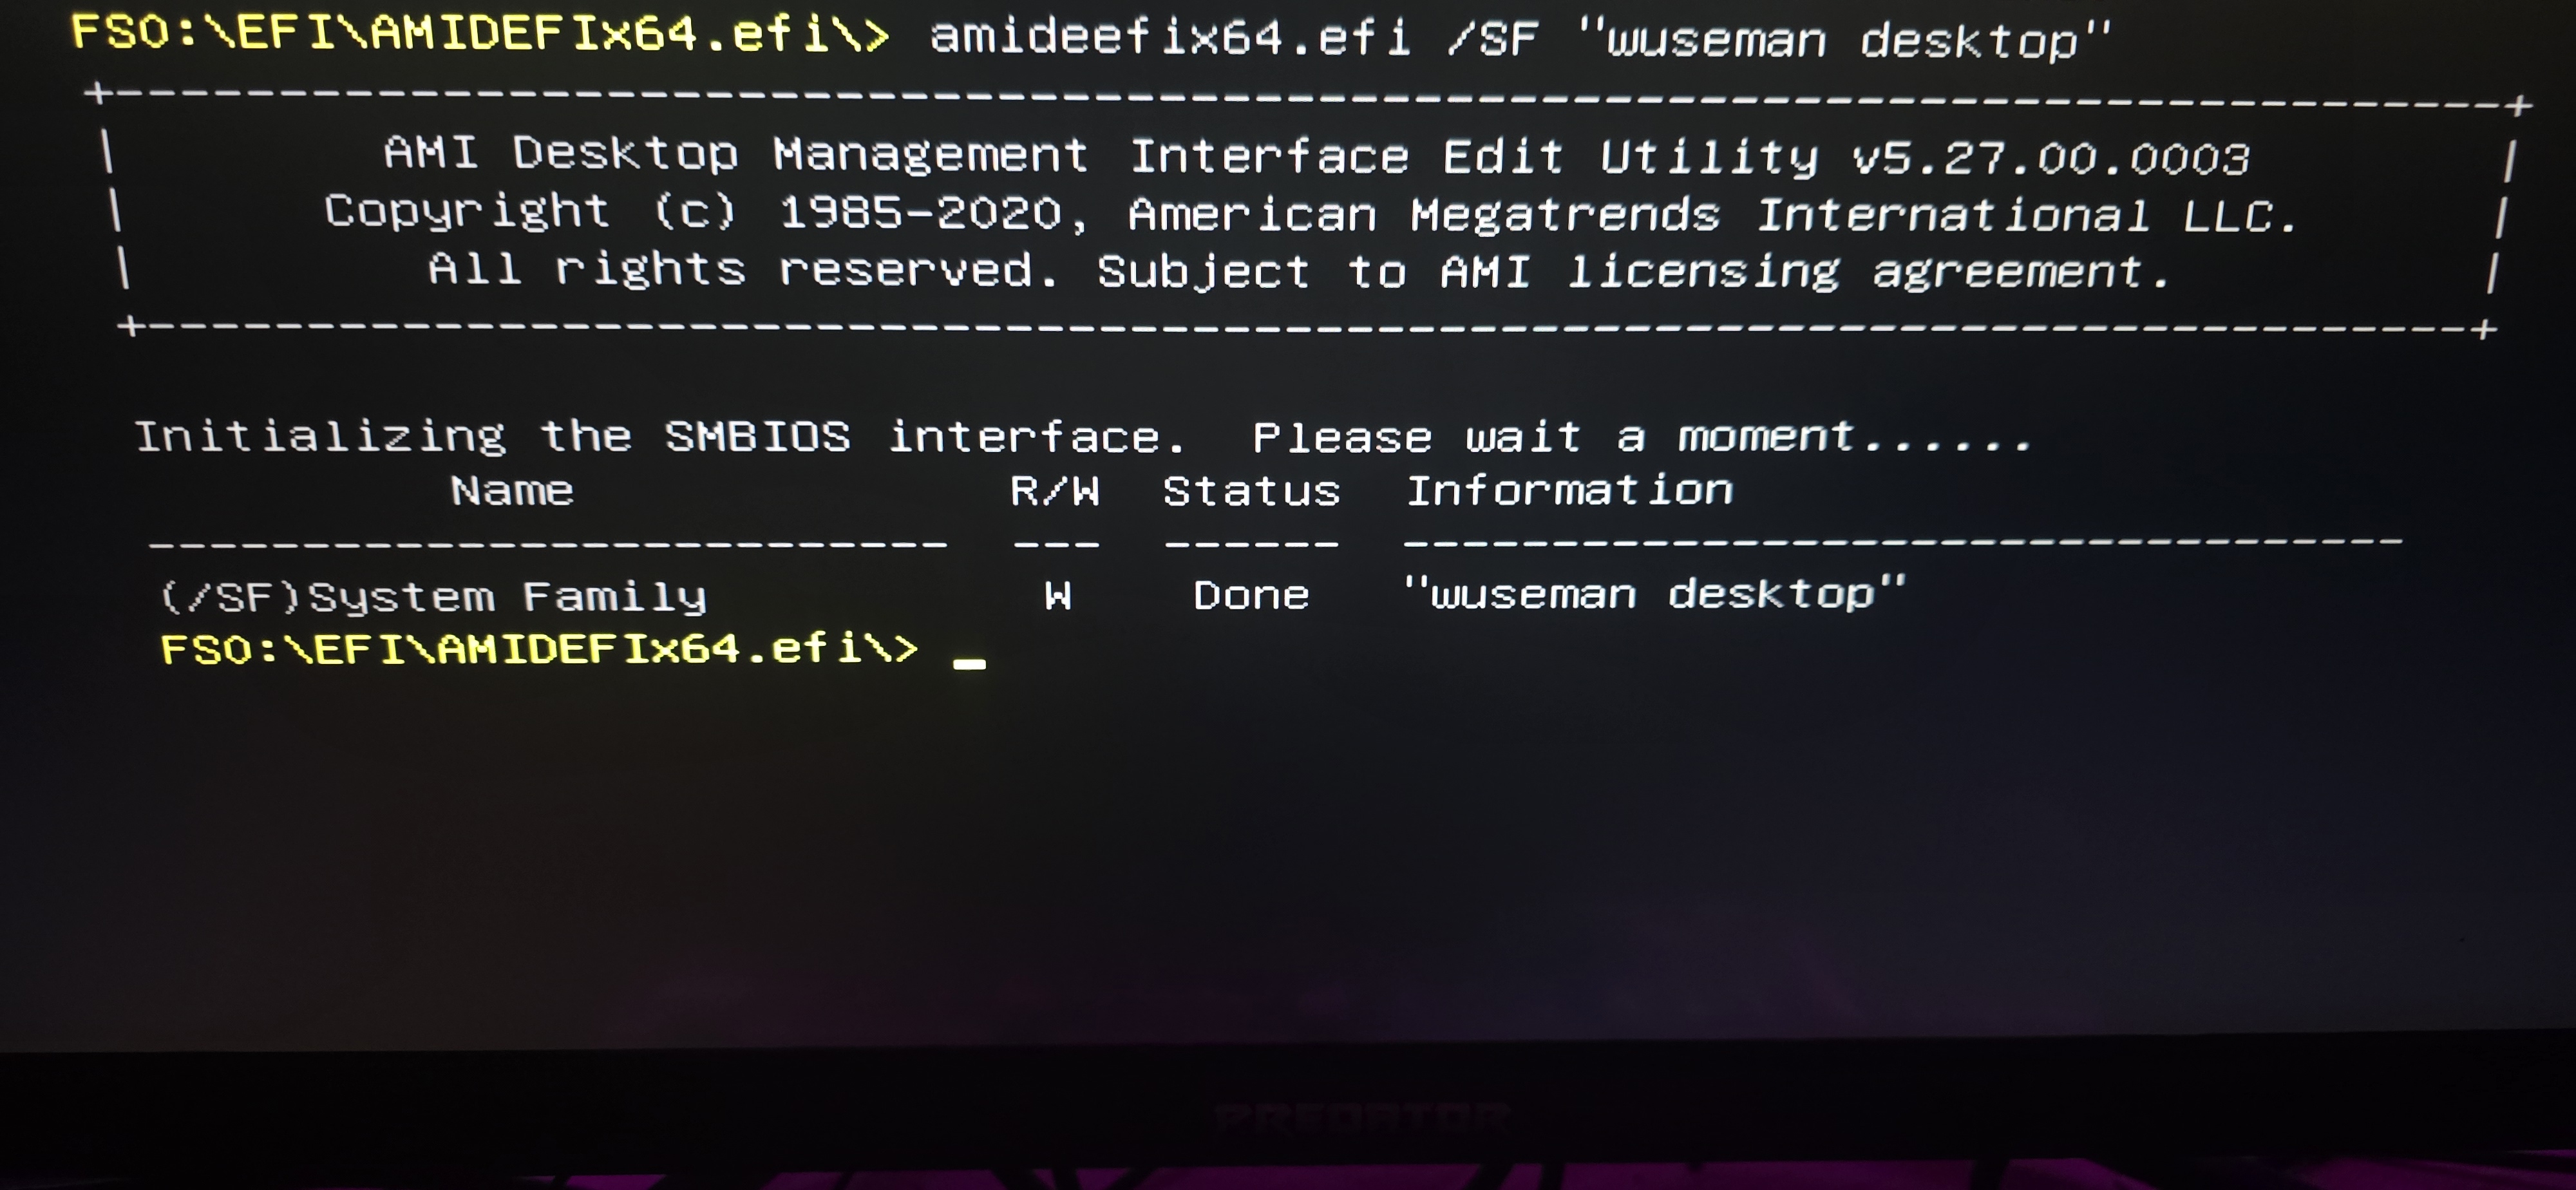
Set System Family value
Set Chassis Serial Number value
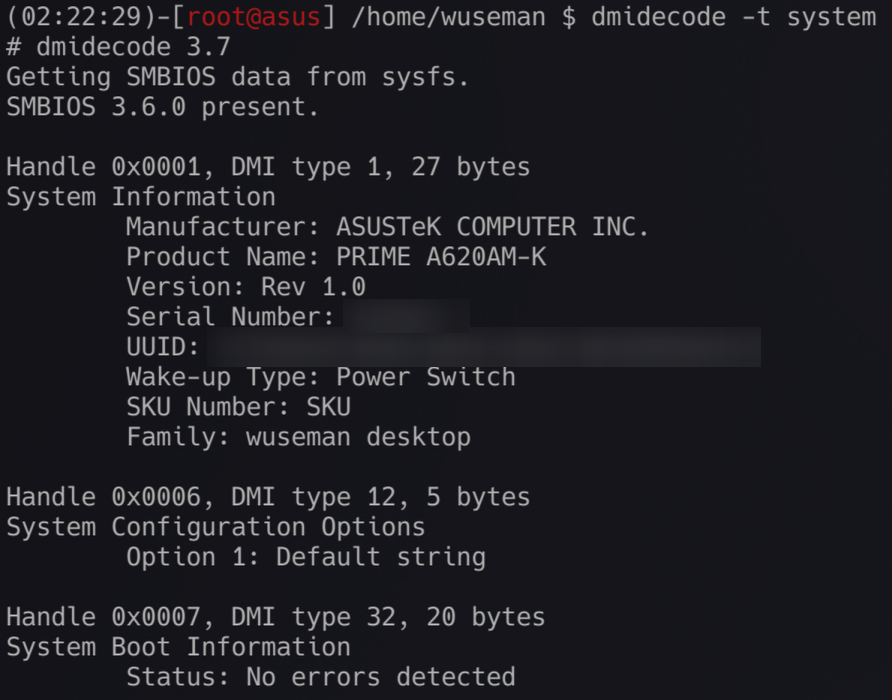
Result
Here is the result after we updated as above pictures shown
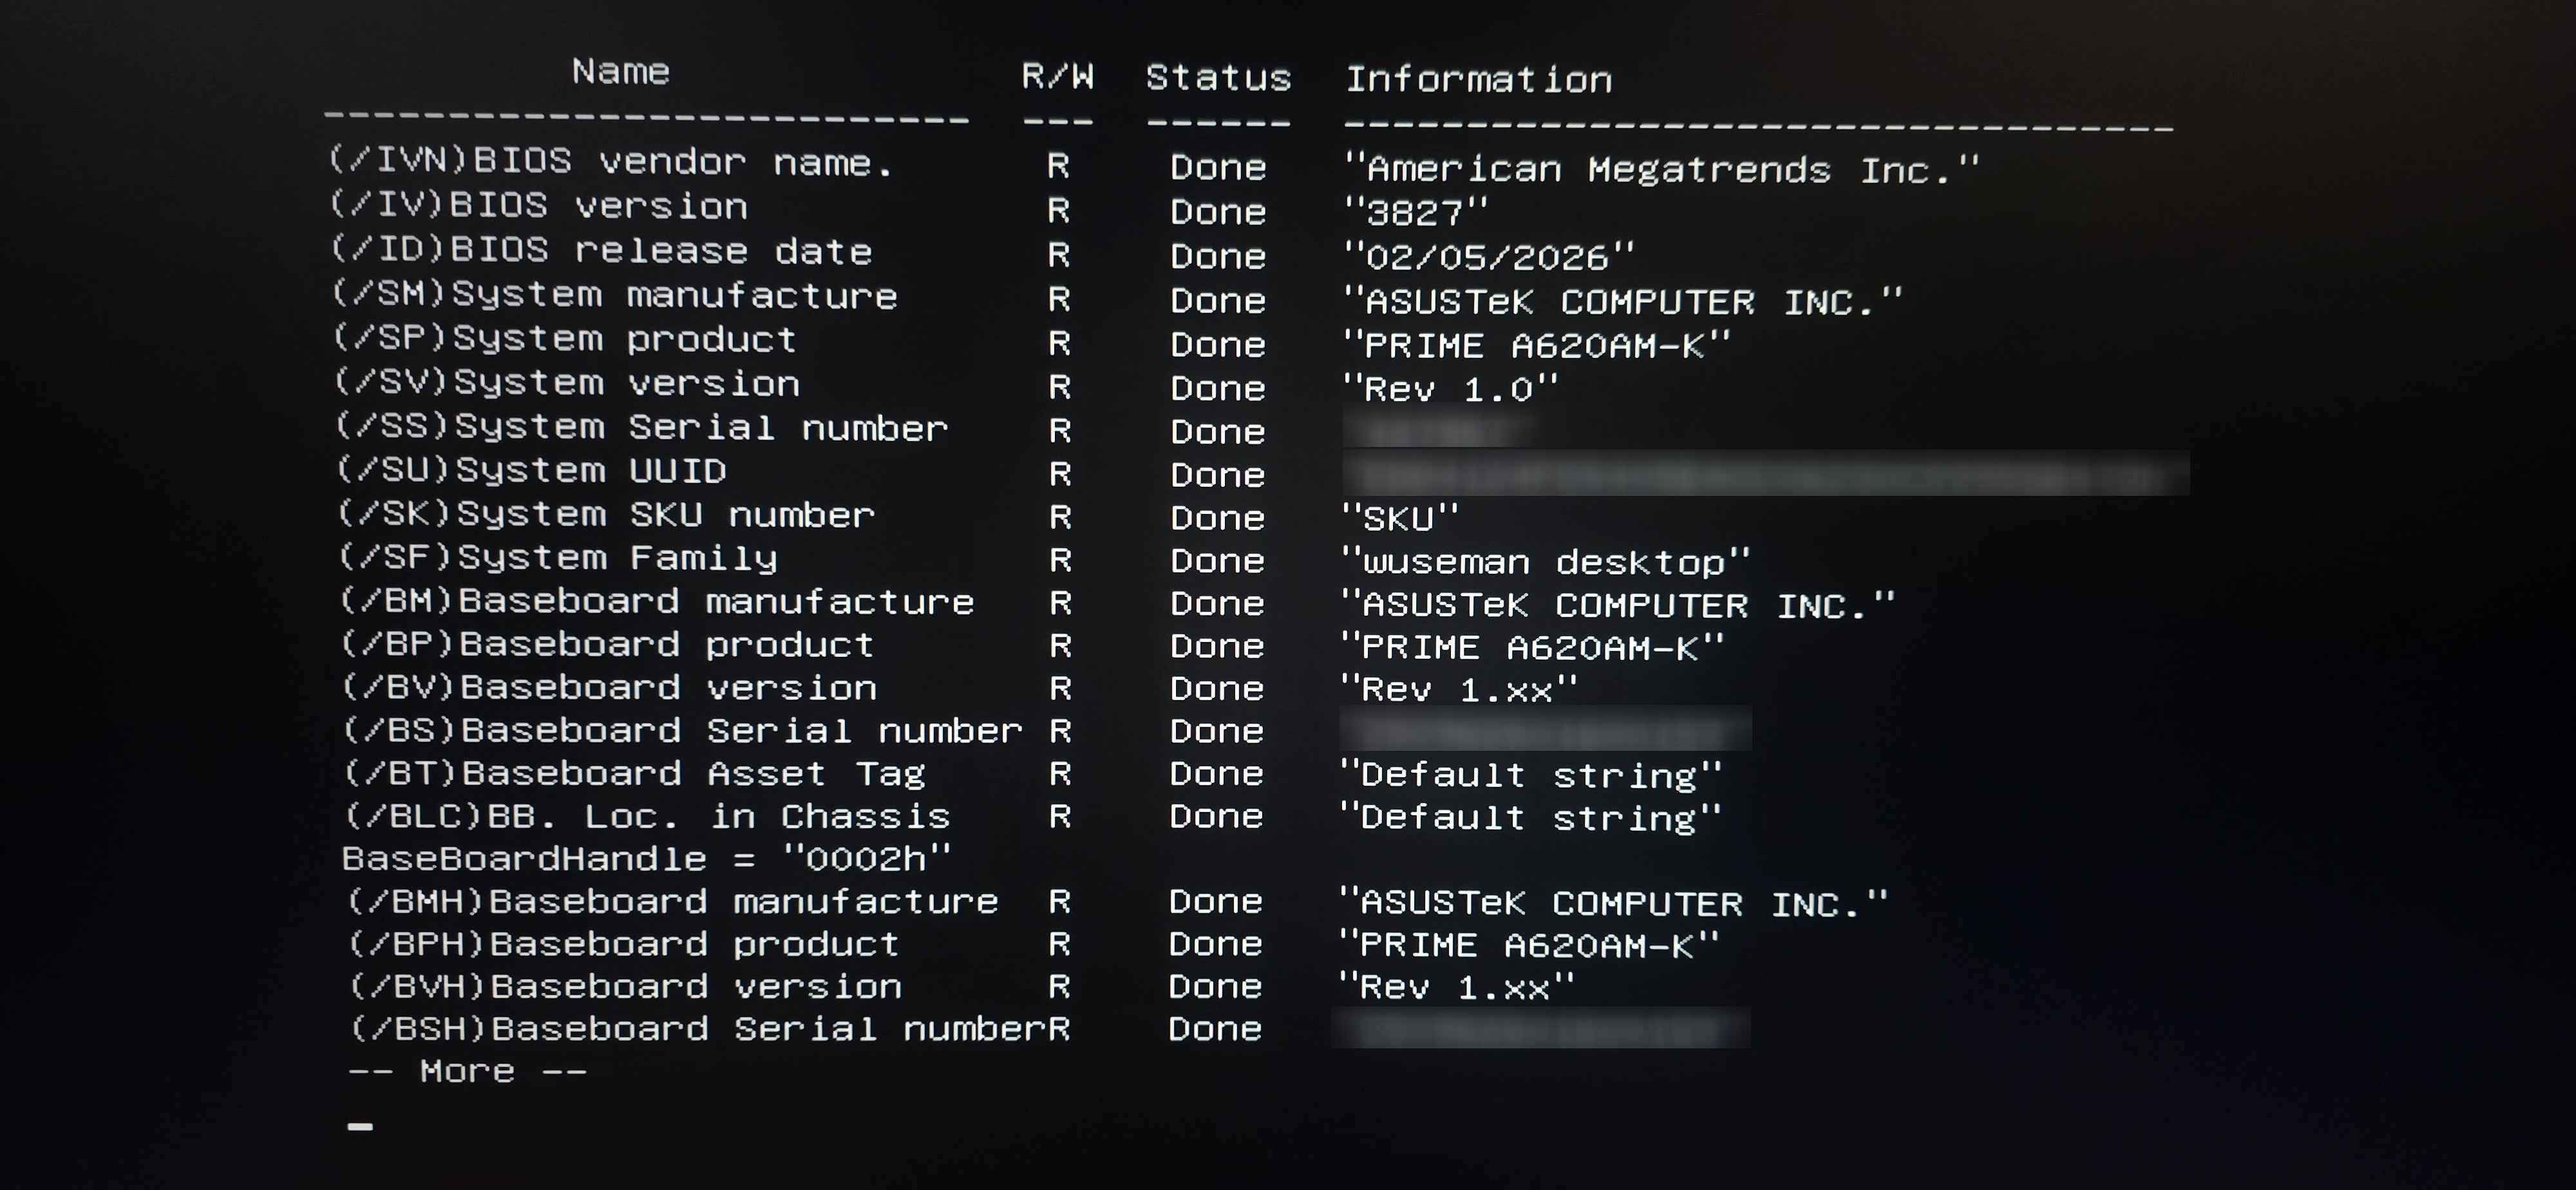
Here is the end result
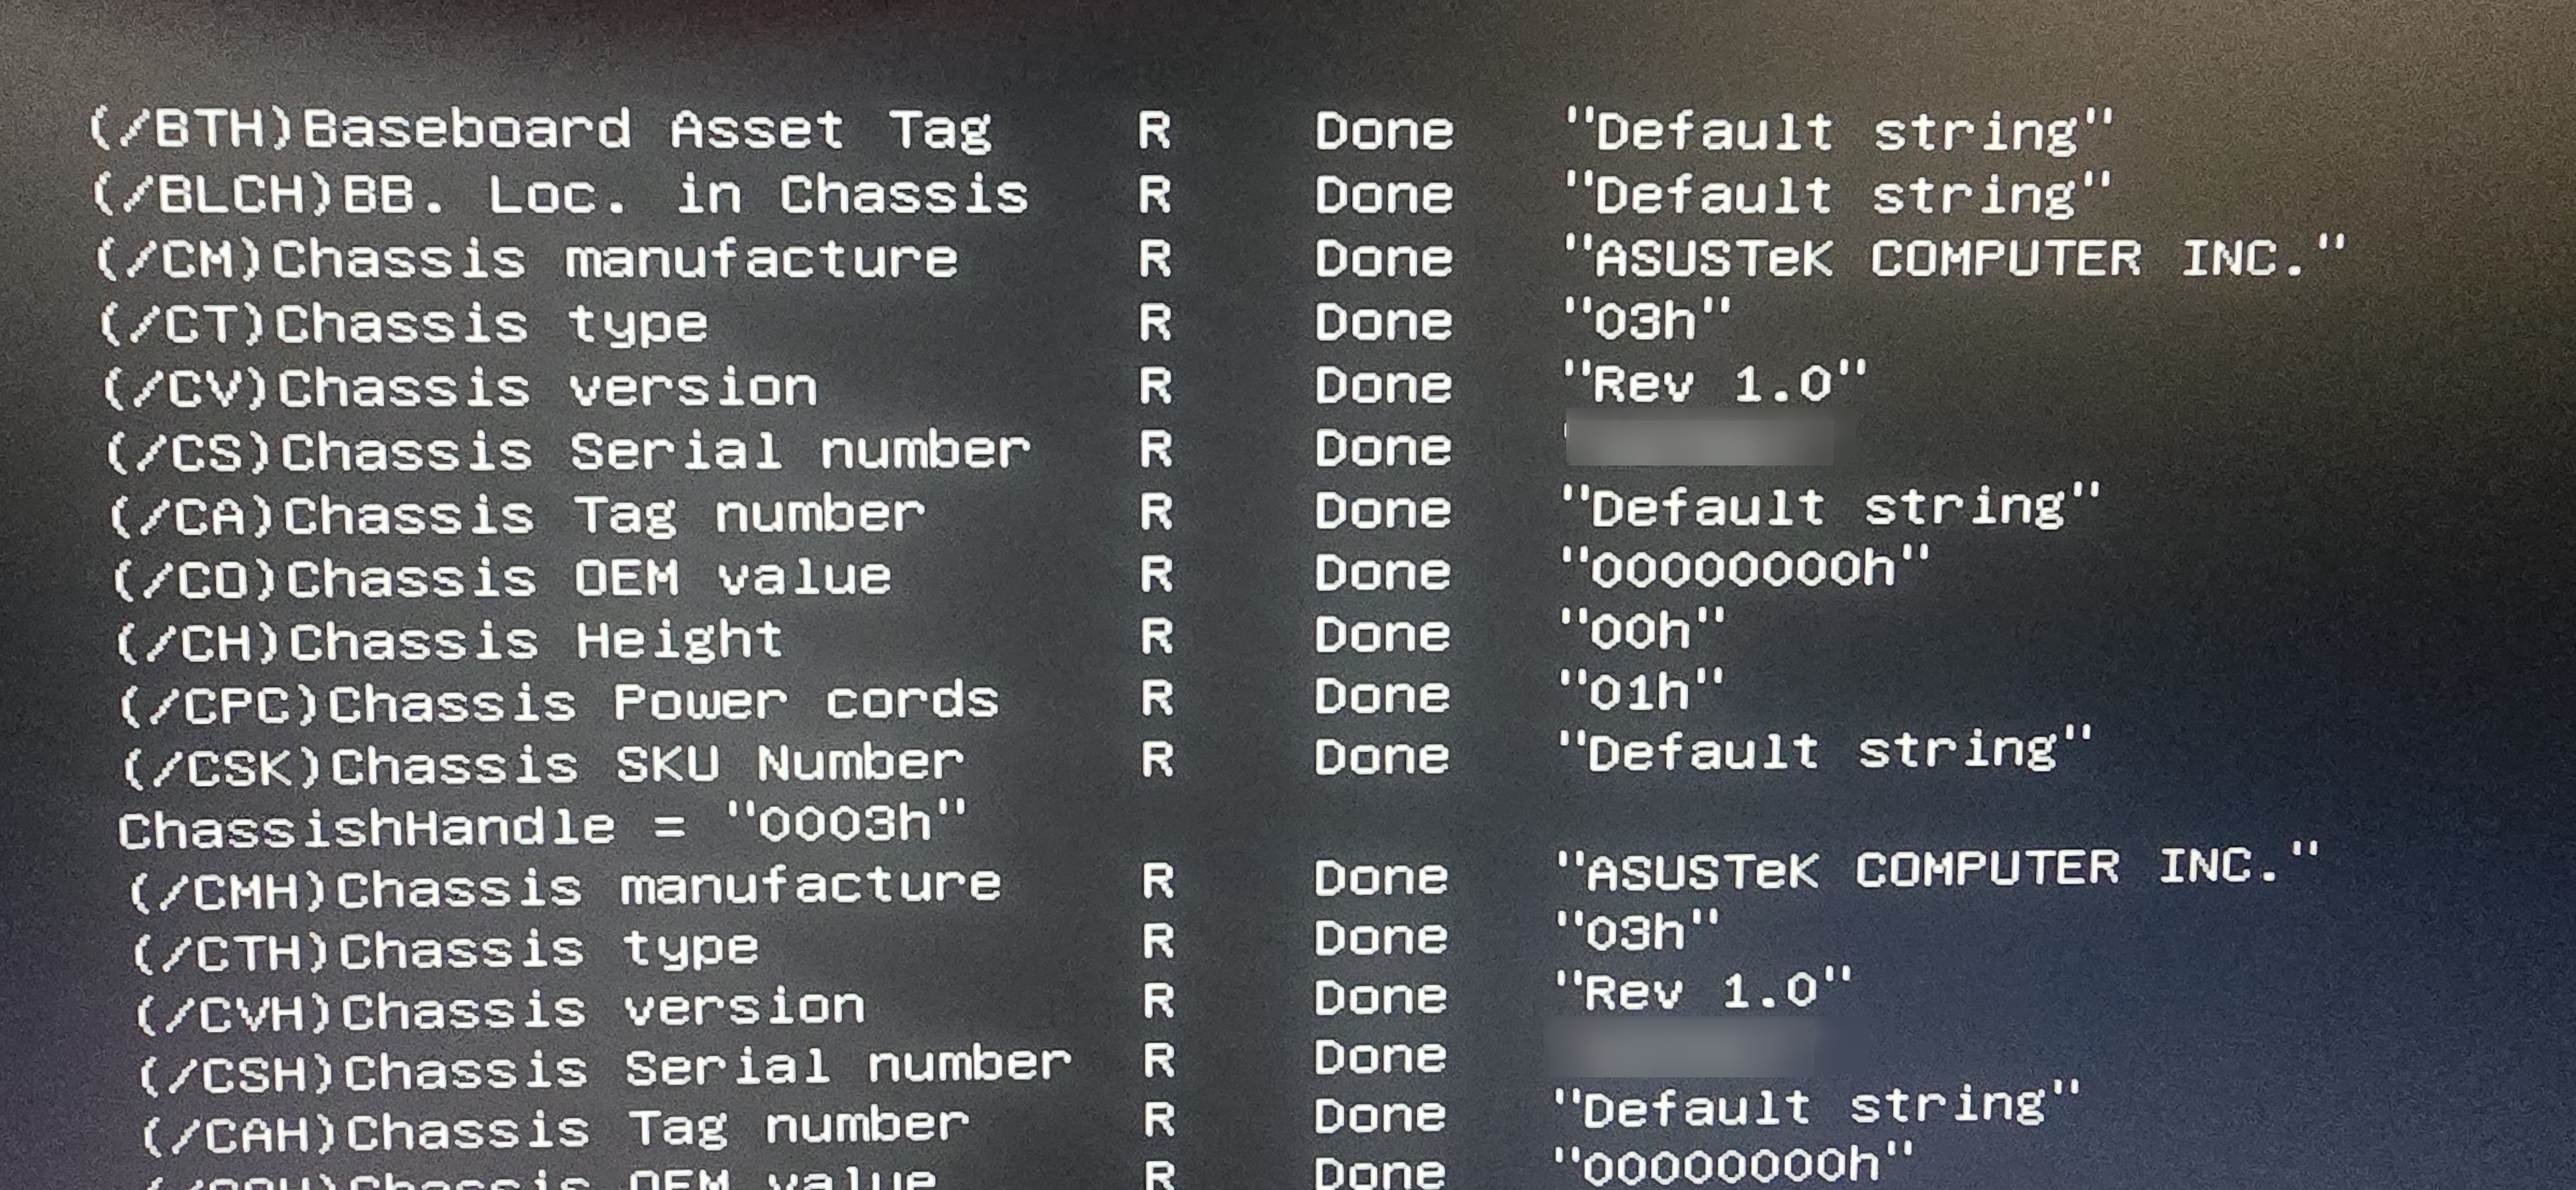
Help
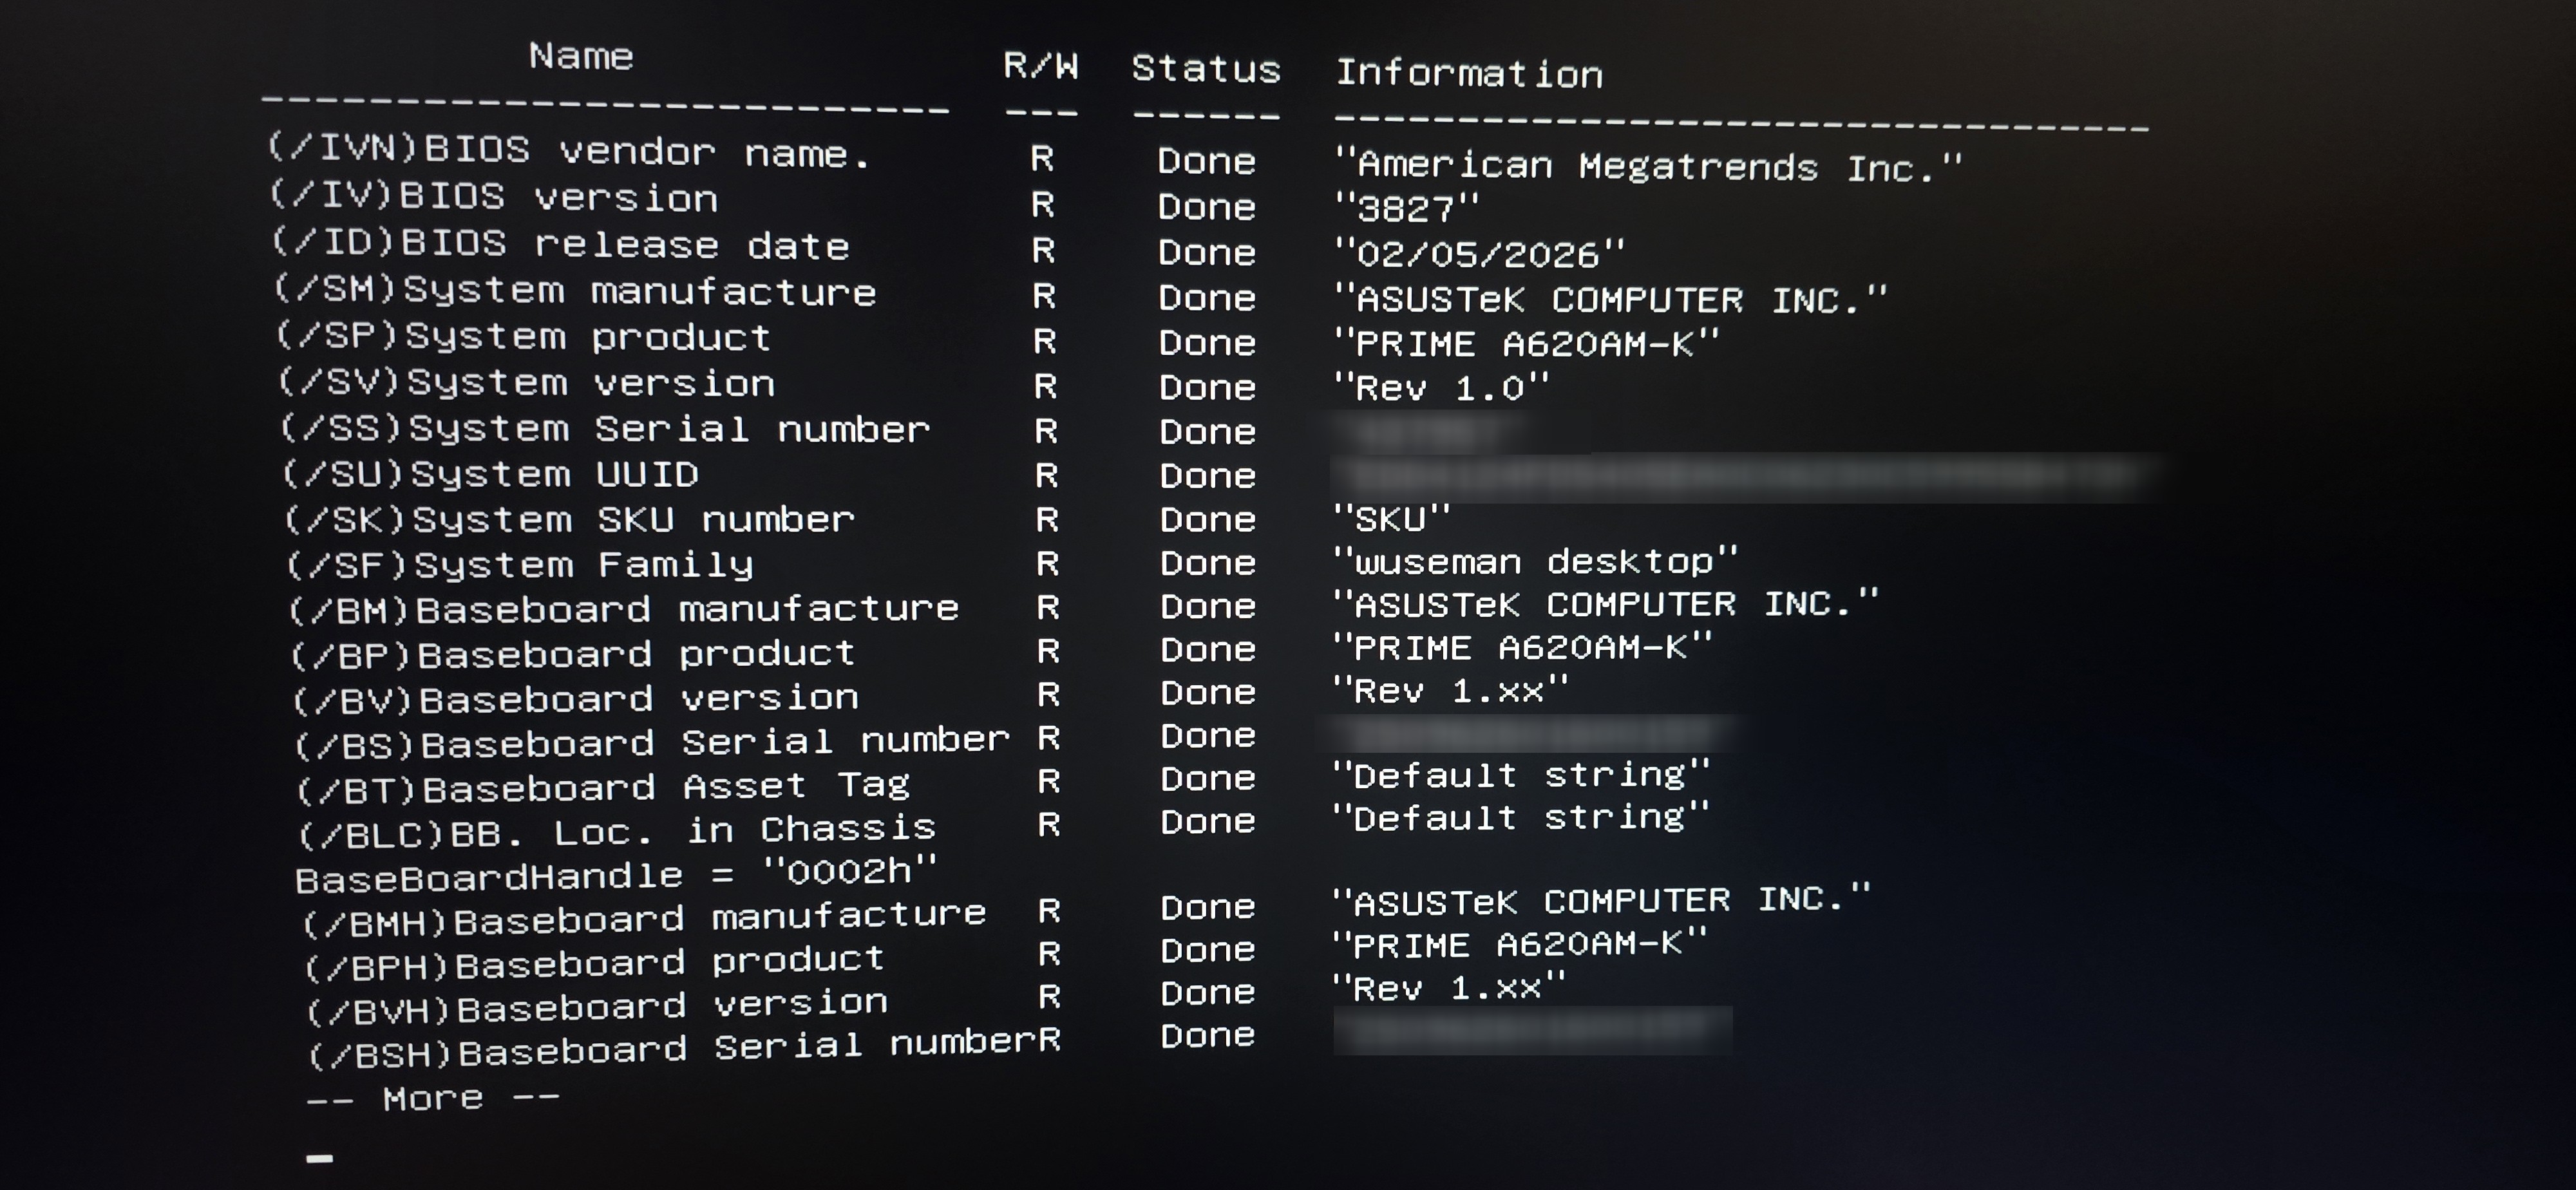
Help Picture 1
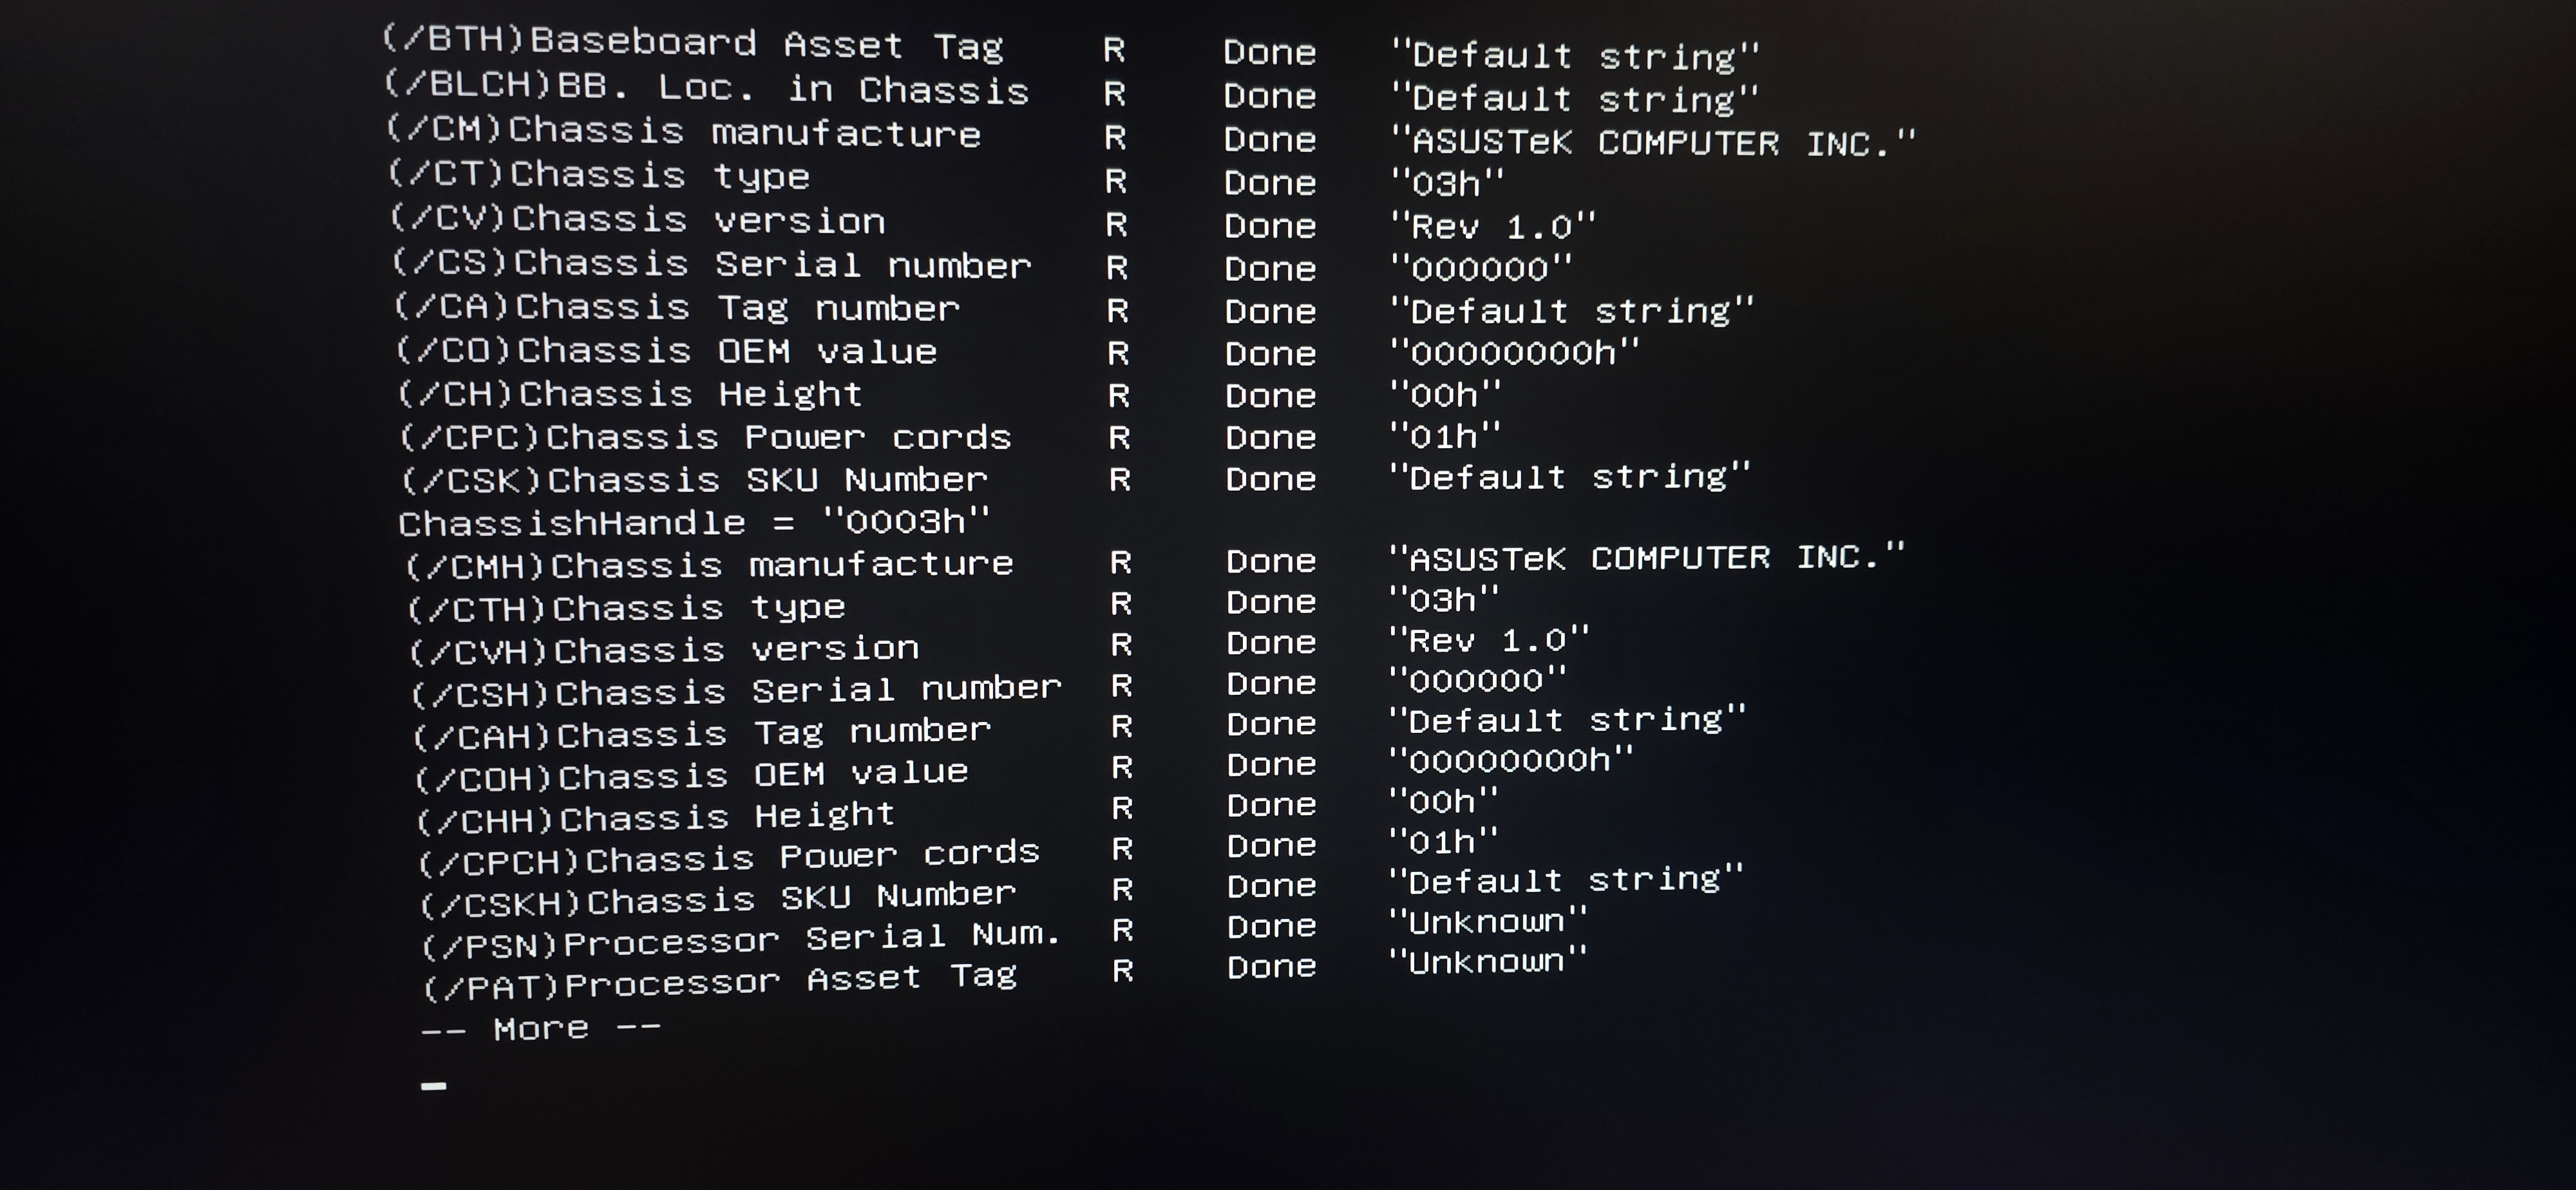
Help Picture 2
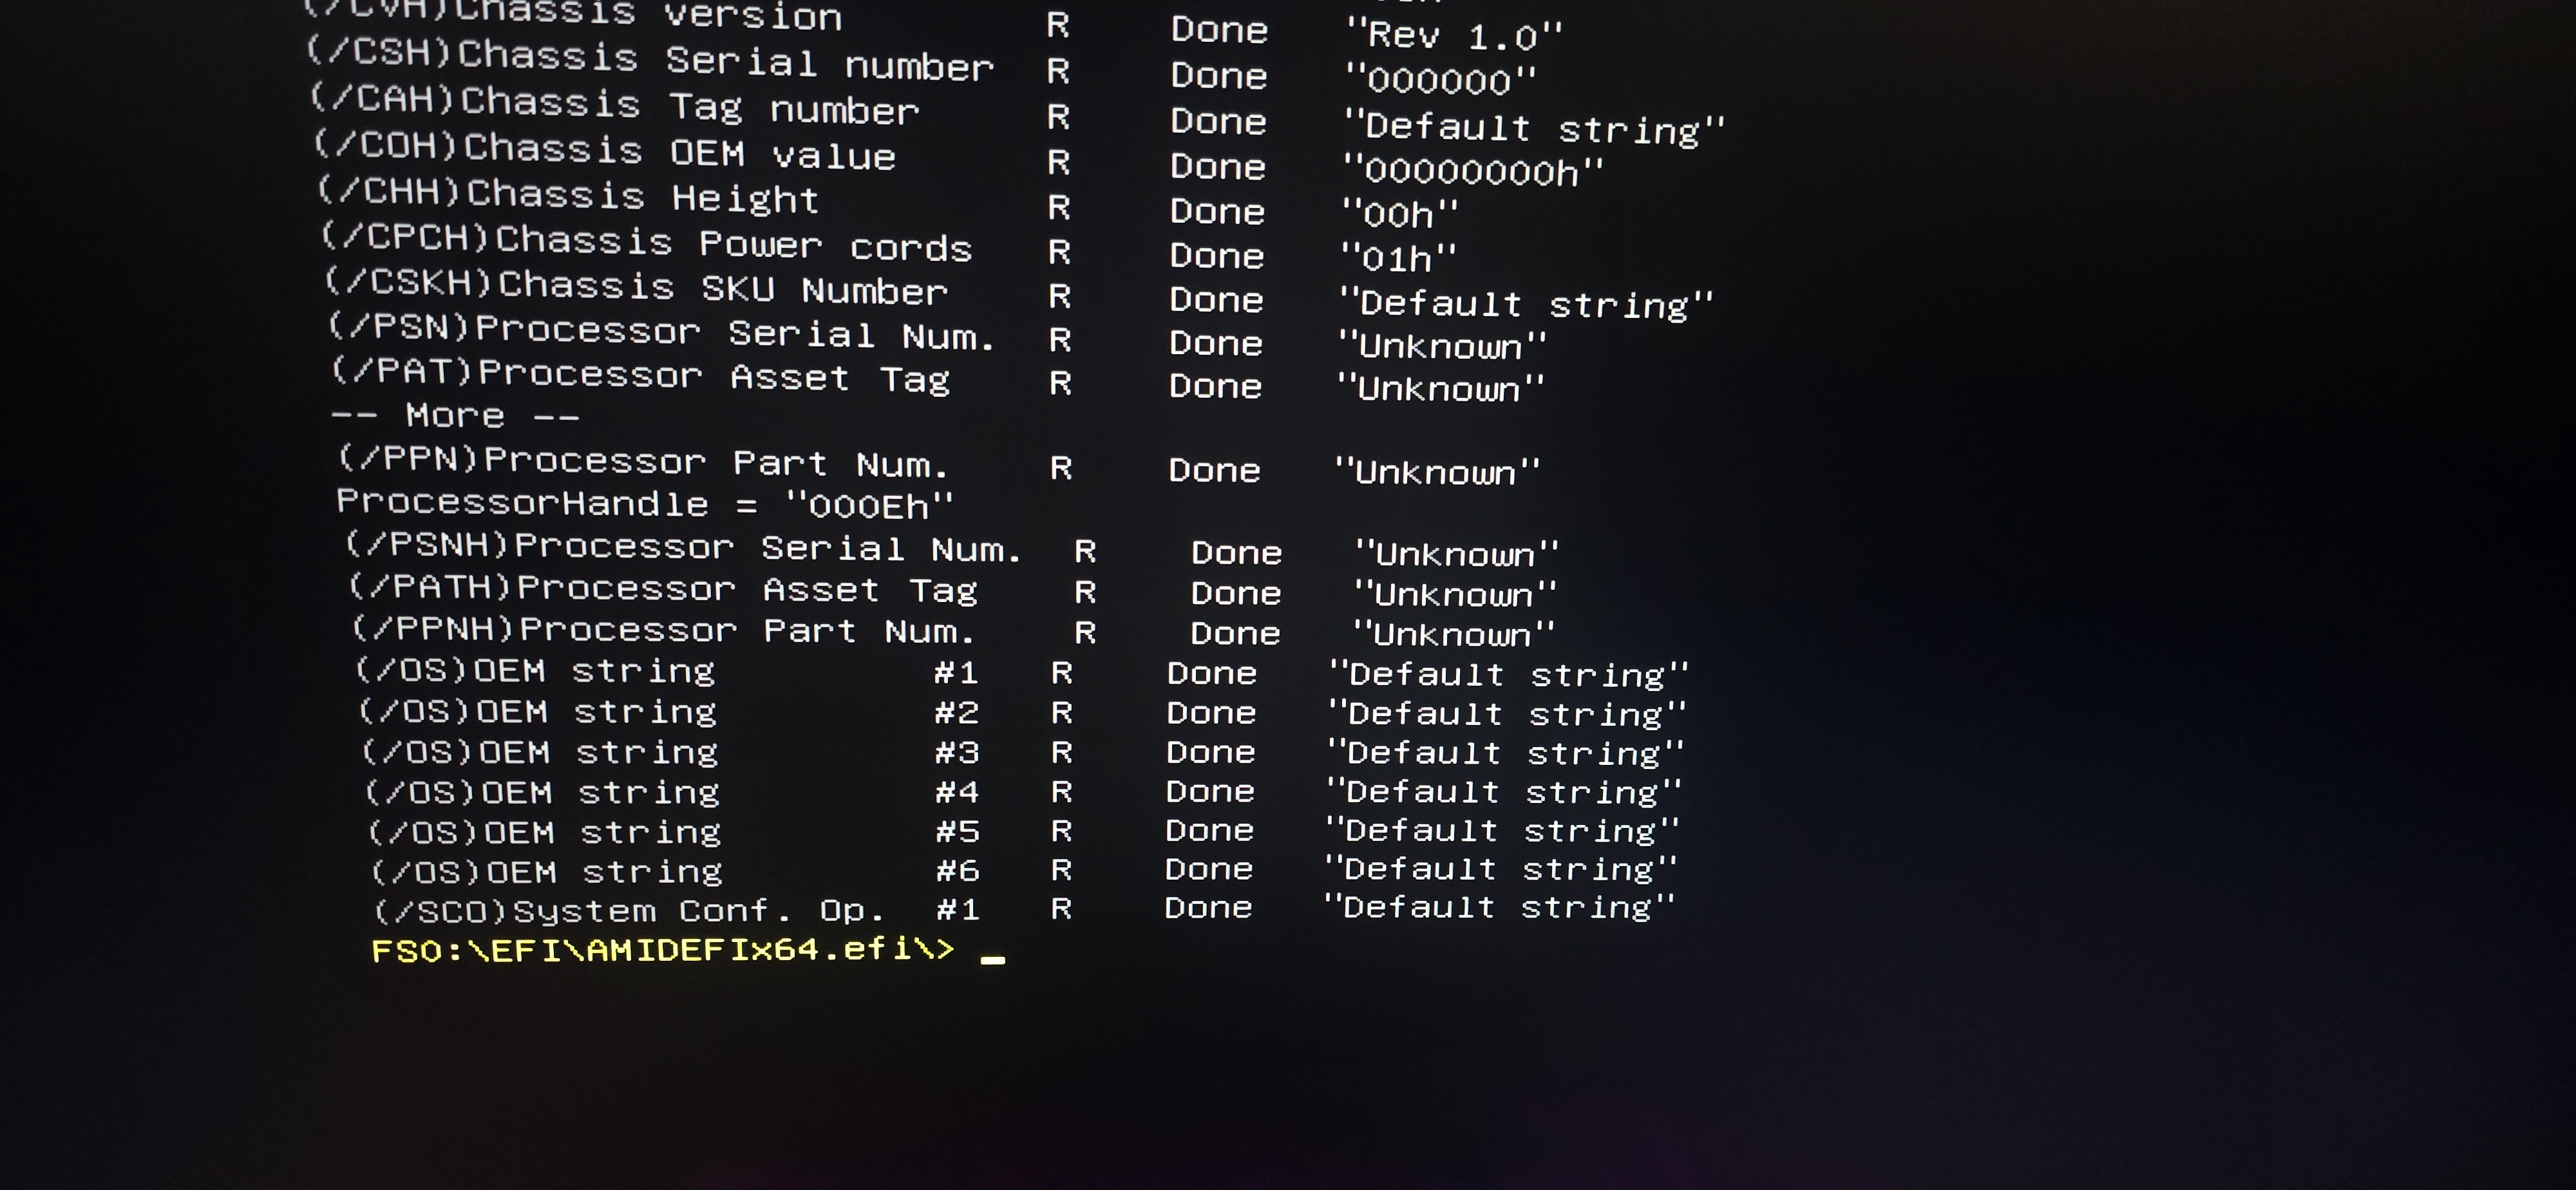
Help Picture 3
Help Picture 4
- Happy Hacking!